A Realistic Yosemite 2 Day Itinerary: How to Spend a Weekend in Yosemite
This Yosemite 2 day itinerary will give you a realistic look into how to spend a weekend in Yosemite National Park.
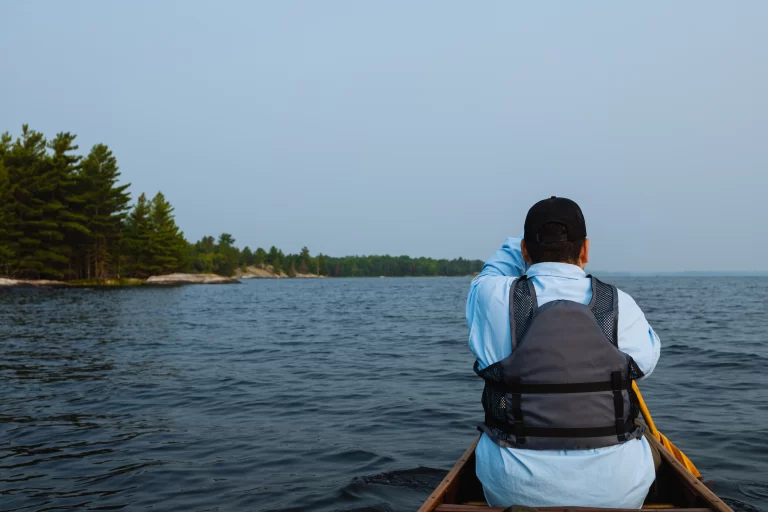
Yosemite is among the most beautiful and epic places we’ve ever visited. It’s absolutely massive – spanning over 748,000 acres!
If we were planning a trip to Yosemite all over again, this is exactly what we would do!
With over 3.6 million visitors per year, Yosemite National Park is one of the most popular national parks in the United States. But without proper planning, you will find yourself stuck in hours of traffic just trying to get into the park.
Because we’d love for you to spend more time hiking than desperately searching for a parking spot, we’ve created the perfect two day itinerary for visiting Yosemite!
We’ve done the research (and sat in traffic) so you don’t have to. Let’s jump straight into planning your 2 Day Yosemite itinerary!
Quick Summary: 2 Days in Yosemite National Park Itinerary
Day 1:
- Explore Glacier Point Road and hike Taft Point (2-3 hours).
- Head to Mariposa Grove and hike the among giant sequoia trees (2-3 hours).
Day 2:
- Arrive early and hike the Mist Trail, Vernal Falls, and Nevada Falls (4-5 hours)
- Hike to Mirror Lake (1-2 hours)
- Meander around Lower Yosemite Falls (1 hour)
- Dinner in Curry Village
Think of these recommendations like a weekend in Yosemite: arriving on the first day, a full day on the second, and departing on third.

Day 1: Glacier Point and Mariposa Grove
Glacier Point road and Mariposa Grove are on the south end of Yosemite. Consider entering the park on 140 via El Portal or coming up 41 from Fresno.
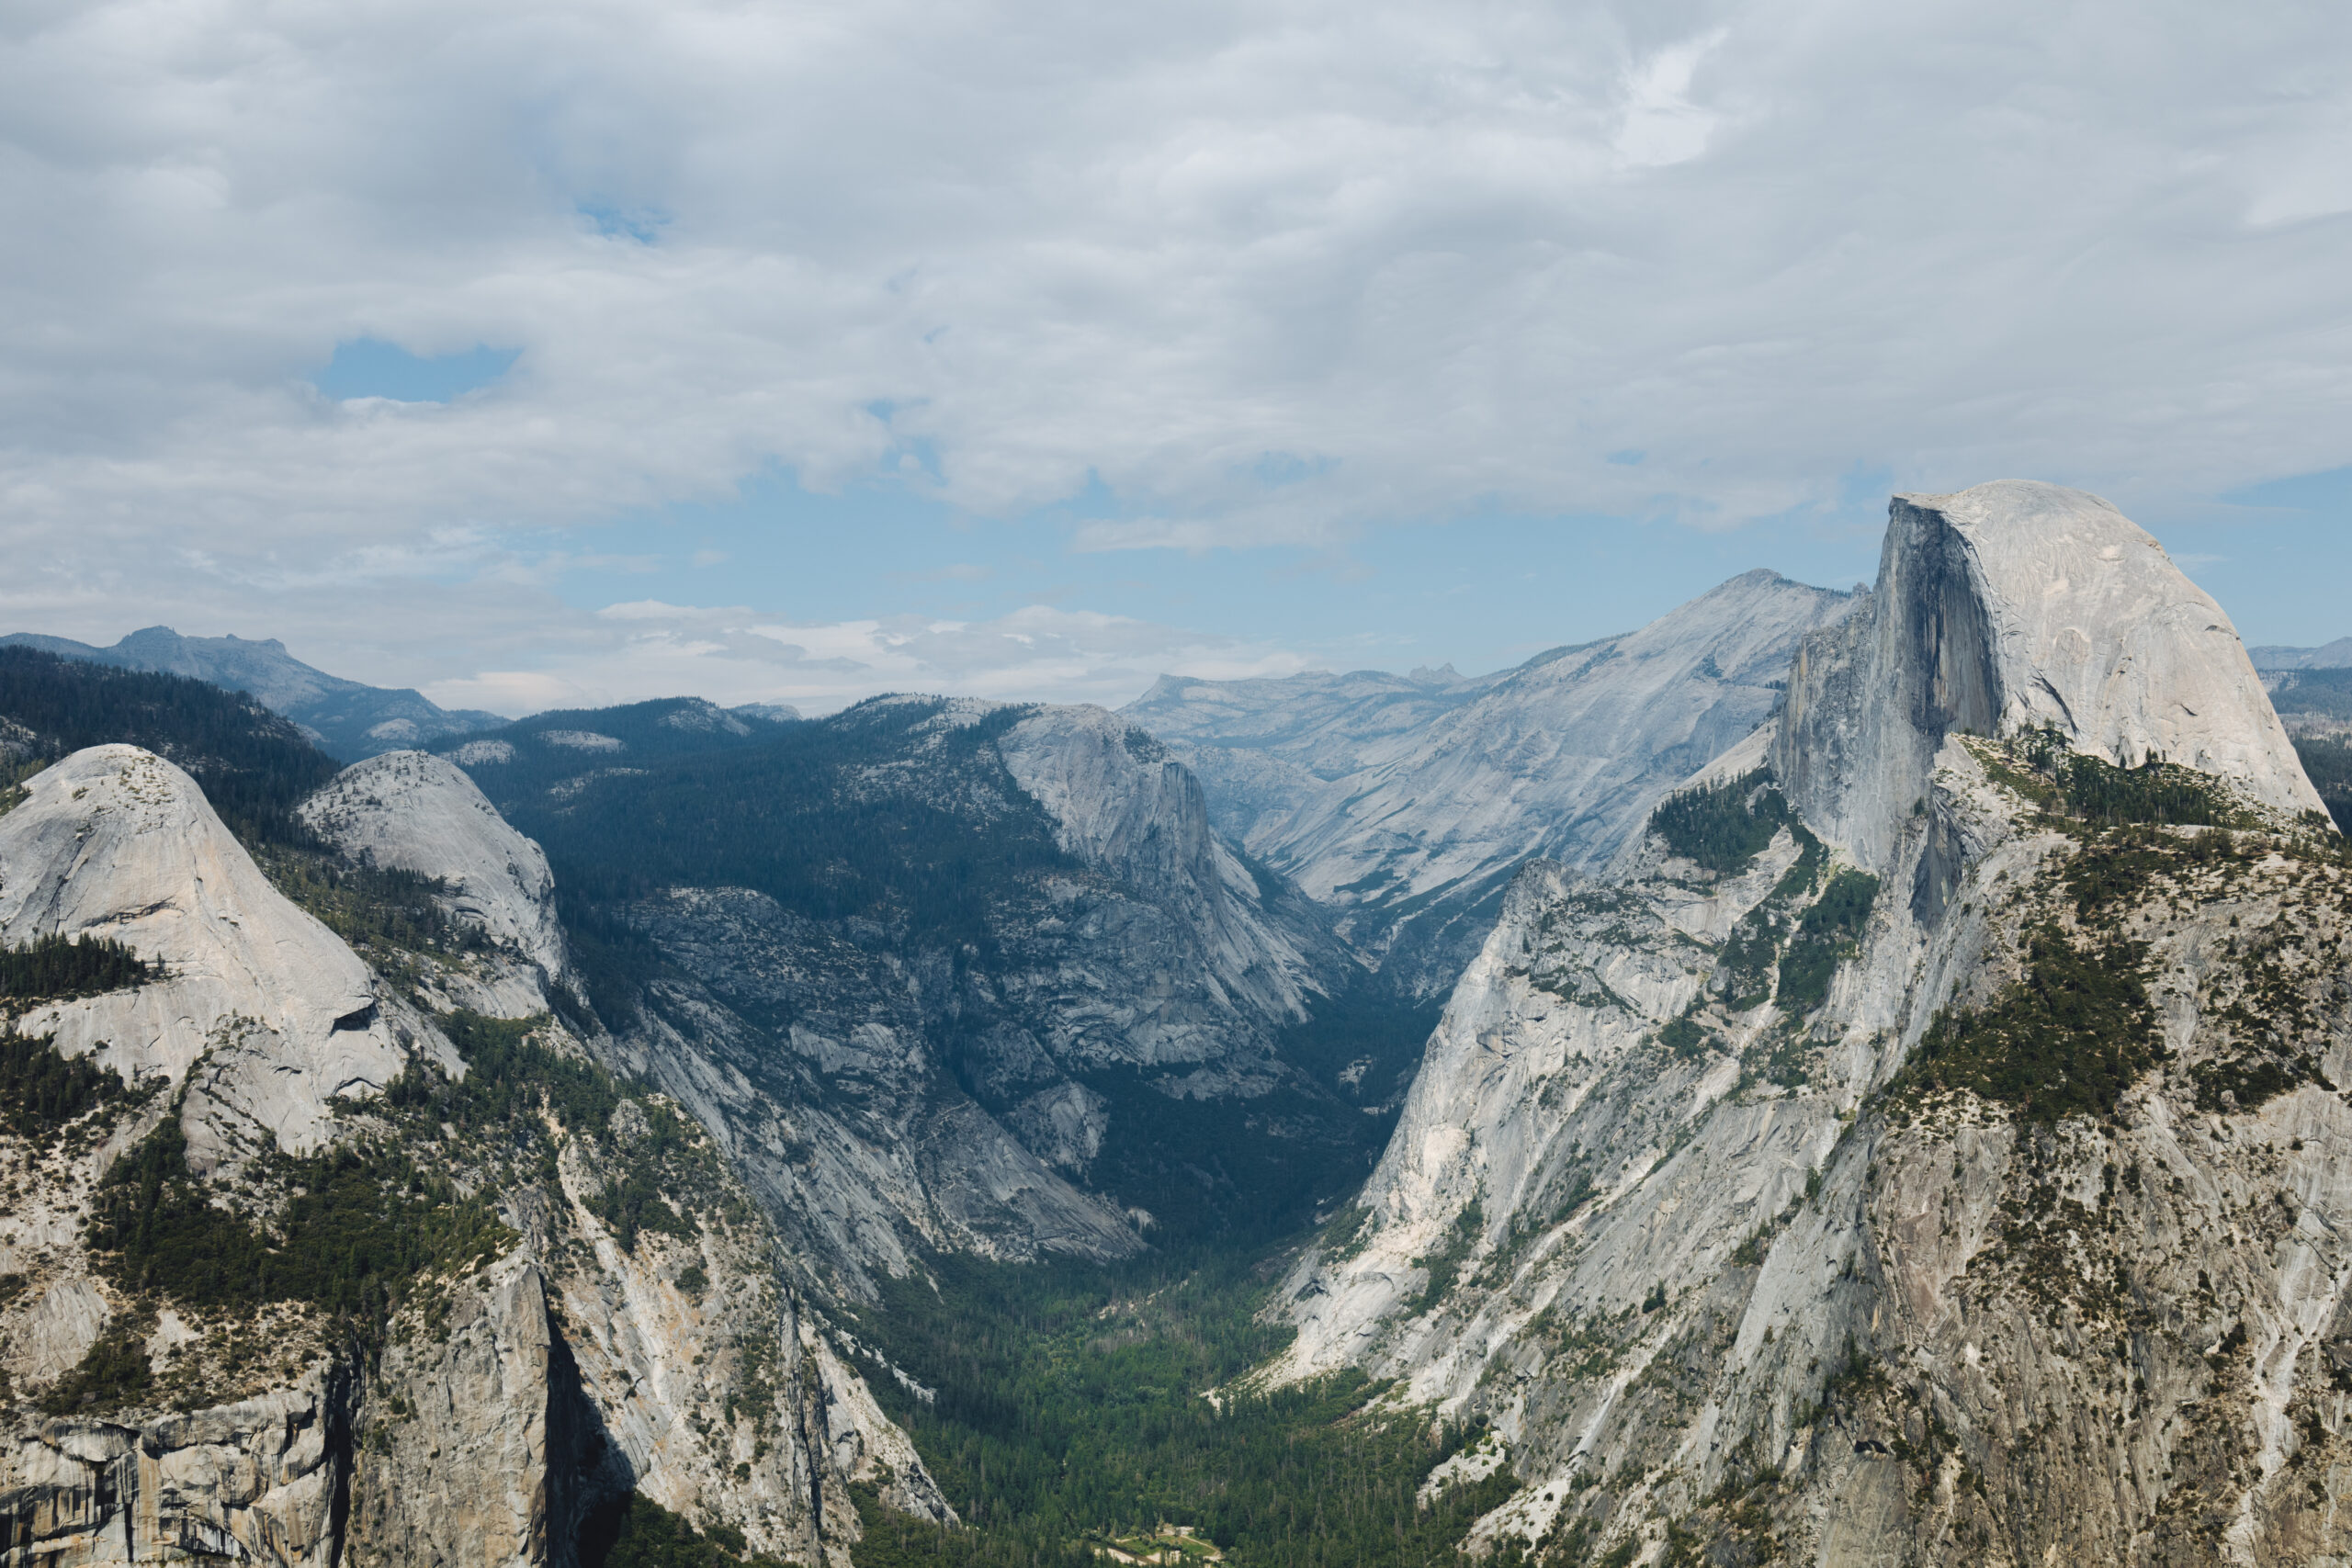
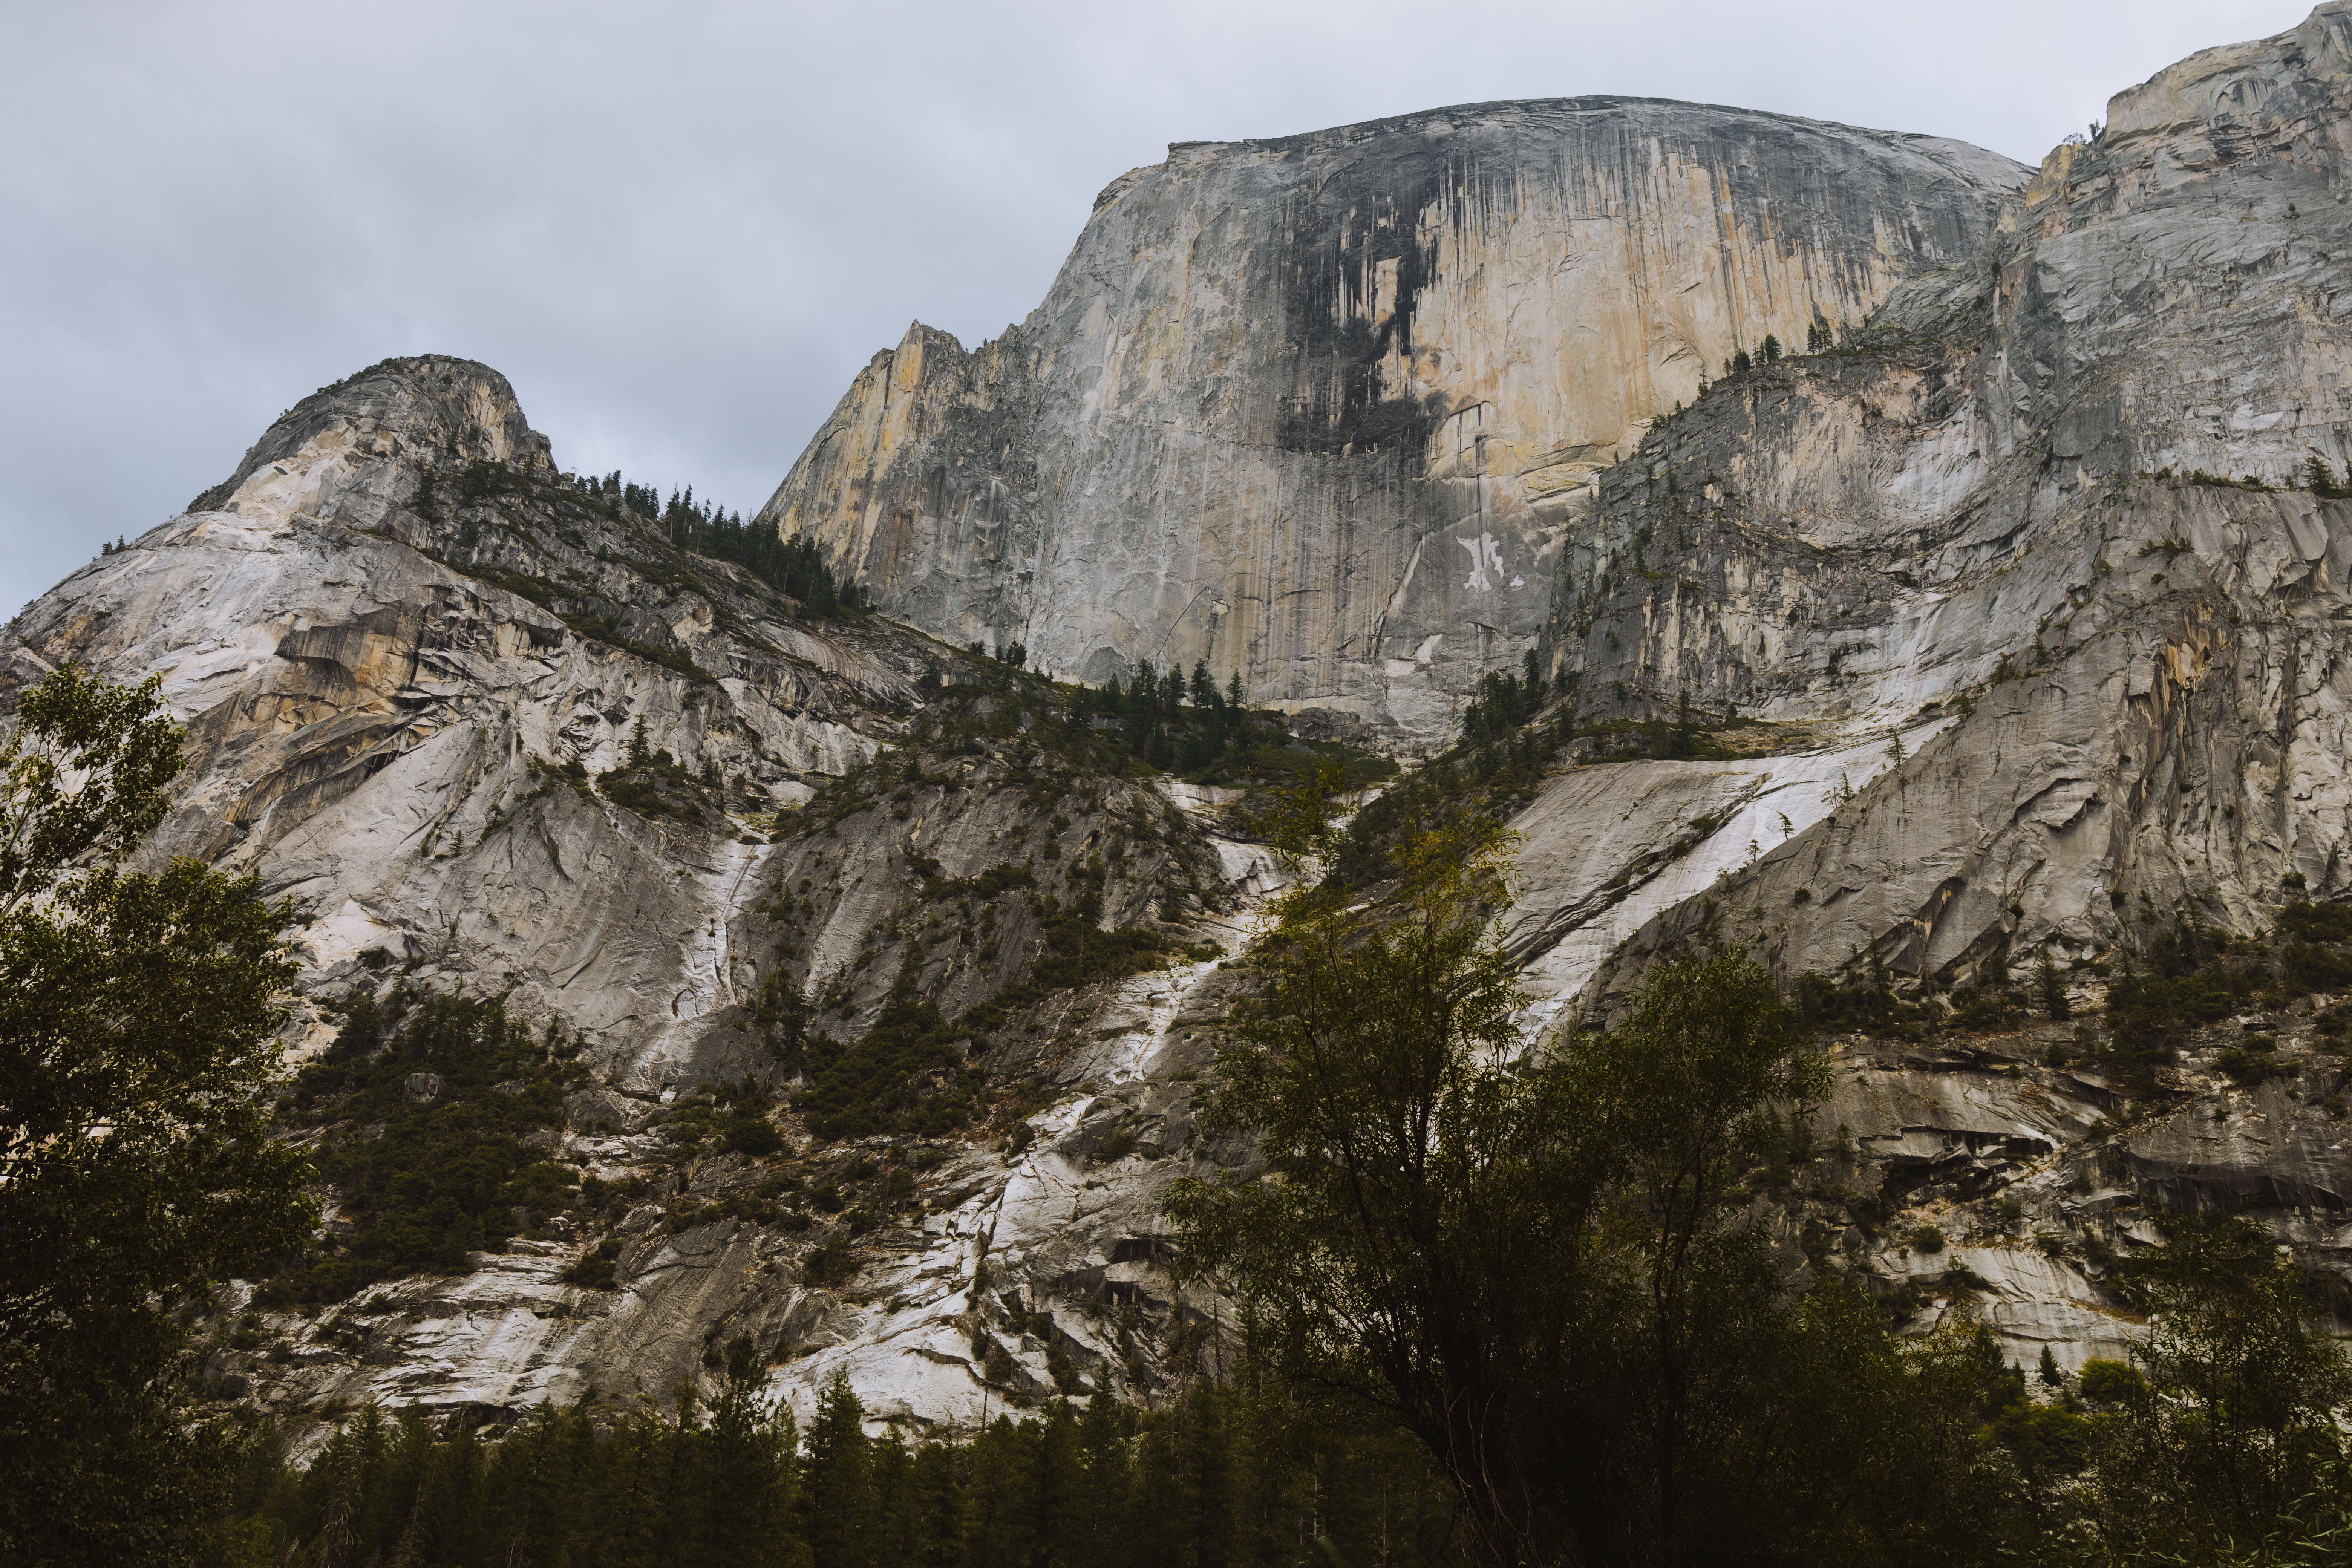
Glacier Point is famous for the incredible view of Half Dome.
Mariposa Grove is famous for the giant sequoia trees.
We found that these areas were less dense than the valley, which is why we recommend starting here.
Drive Glacier Point Road
Glacier Point Road is one of the most beautiful drives we’ve taken on any national park trip. It’s an iconic spot in the park, but not as popular as the valley.
You will find the entrance to Glacier Point Road off Wawona Road, near Yosemite West.
This 16-mile long drive will take you all the way up to Glacier Point, which overlooks Yosemite Valley, Half Dome, and the many waterfalls scattered around the park. It is one of the most beautiful sights in Yosemite.
Glacier Point Road is typically open from late May/early June until sometime in November. The road will close due to snow every year.
There are plenty of stops and hikes you can take off of Glacier Point road. Fournotable trailhead stops along the way to Glacier Point are:
- McGurk Meadow Trailhead
- Ostrander Lake Trailhead
- Mono Meadows Trailhead
- Taft Point Trailhead
We specifically hiked to Taft Point, stopped at Washburn Point, and explored the Glacier Point area!

Taft Point and The Fissures
The Taft Point trailhead is located near the end of Glacier Point road, after the Mono Meadows trailhead.
There are now two parking areas for Traft Point and Sentinel Dome! In 2023, the NPS completed paving the overflow parking area at the Sentinel Dome trailhead. We started our hike from the Taft Point Trailhead.
Taft Point trail is 2.2 miles round trip and should take you between 1-1.5 hours to complete.
As you make your way to Taft Point, you will walk through a lush green forest. The trees are lined with moss and the ground is earthy and soft. It felt like we were walking on a trail in Washington State.
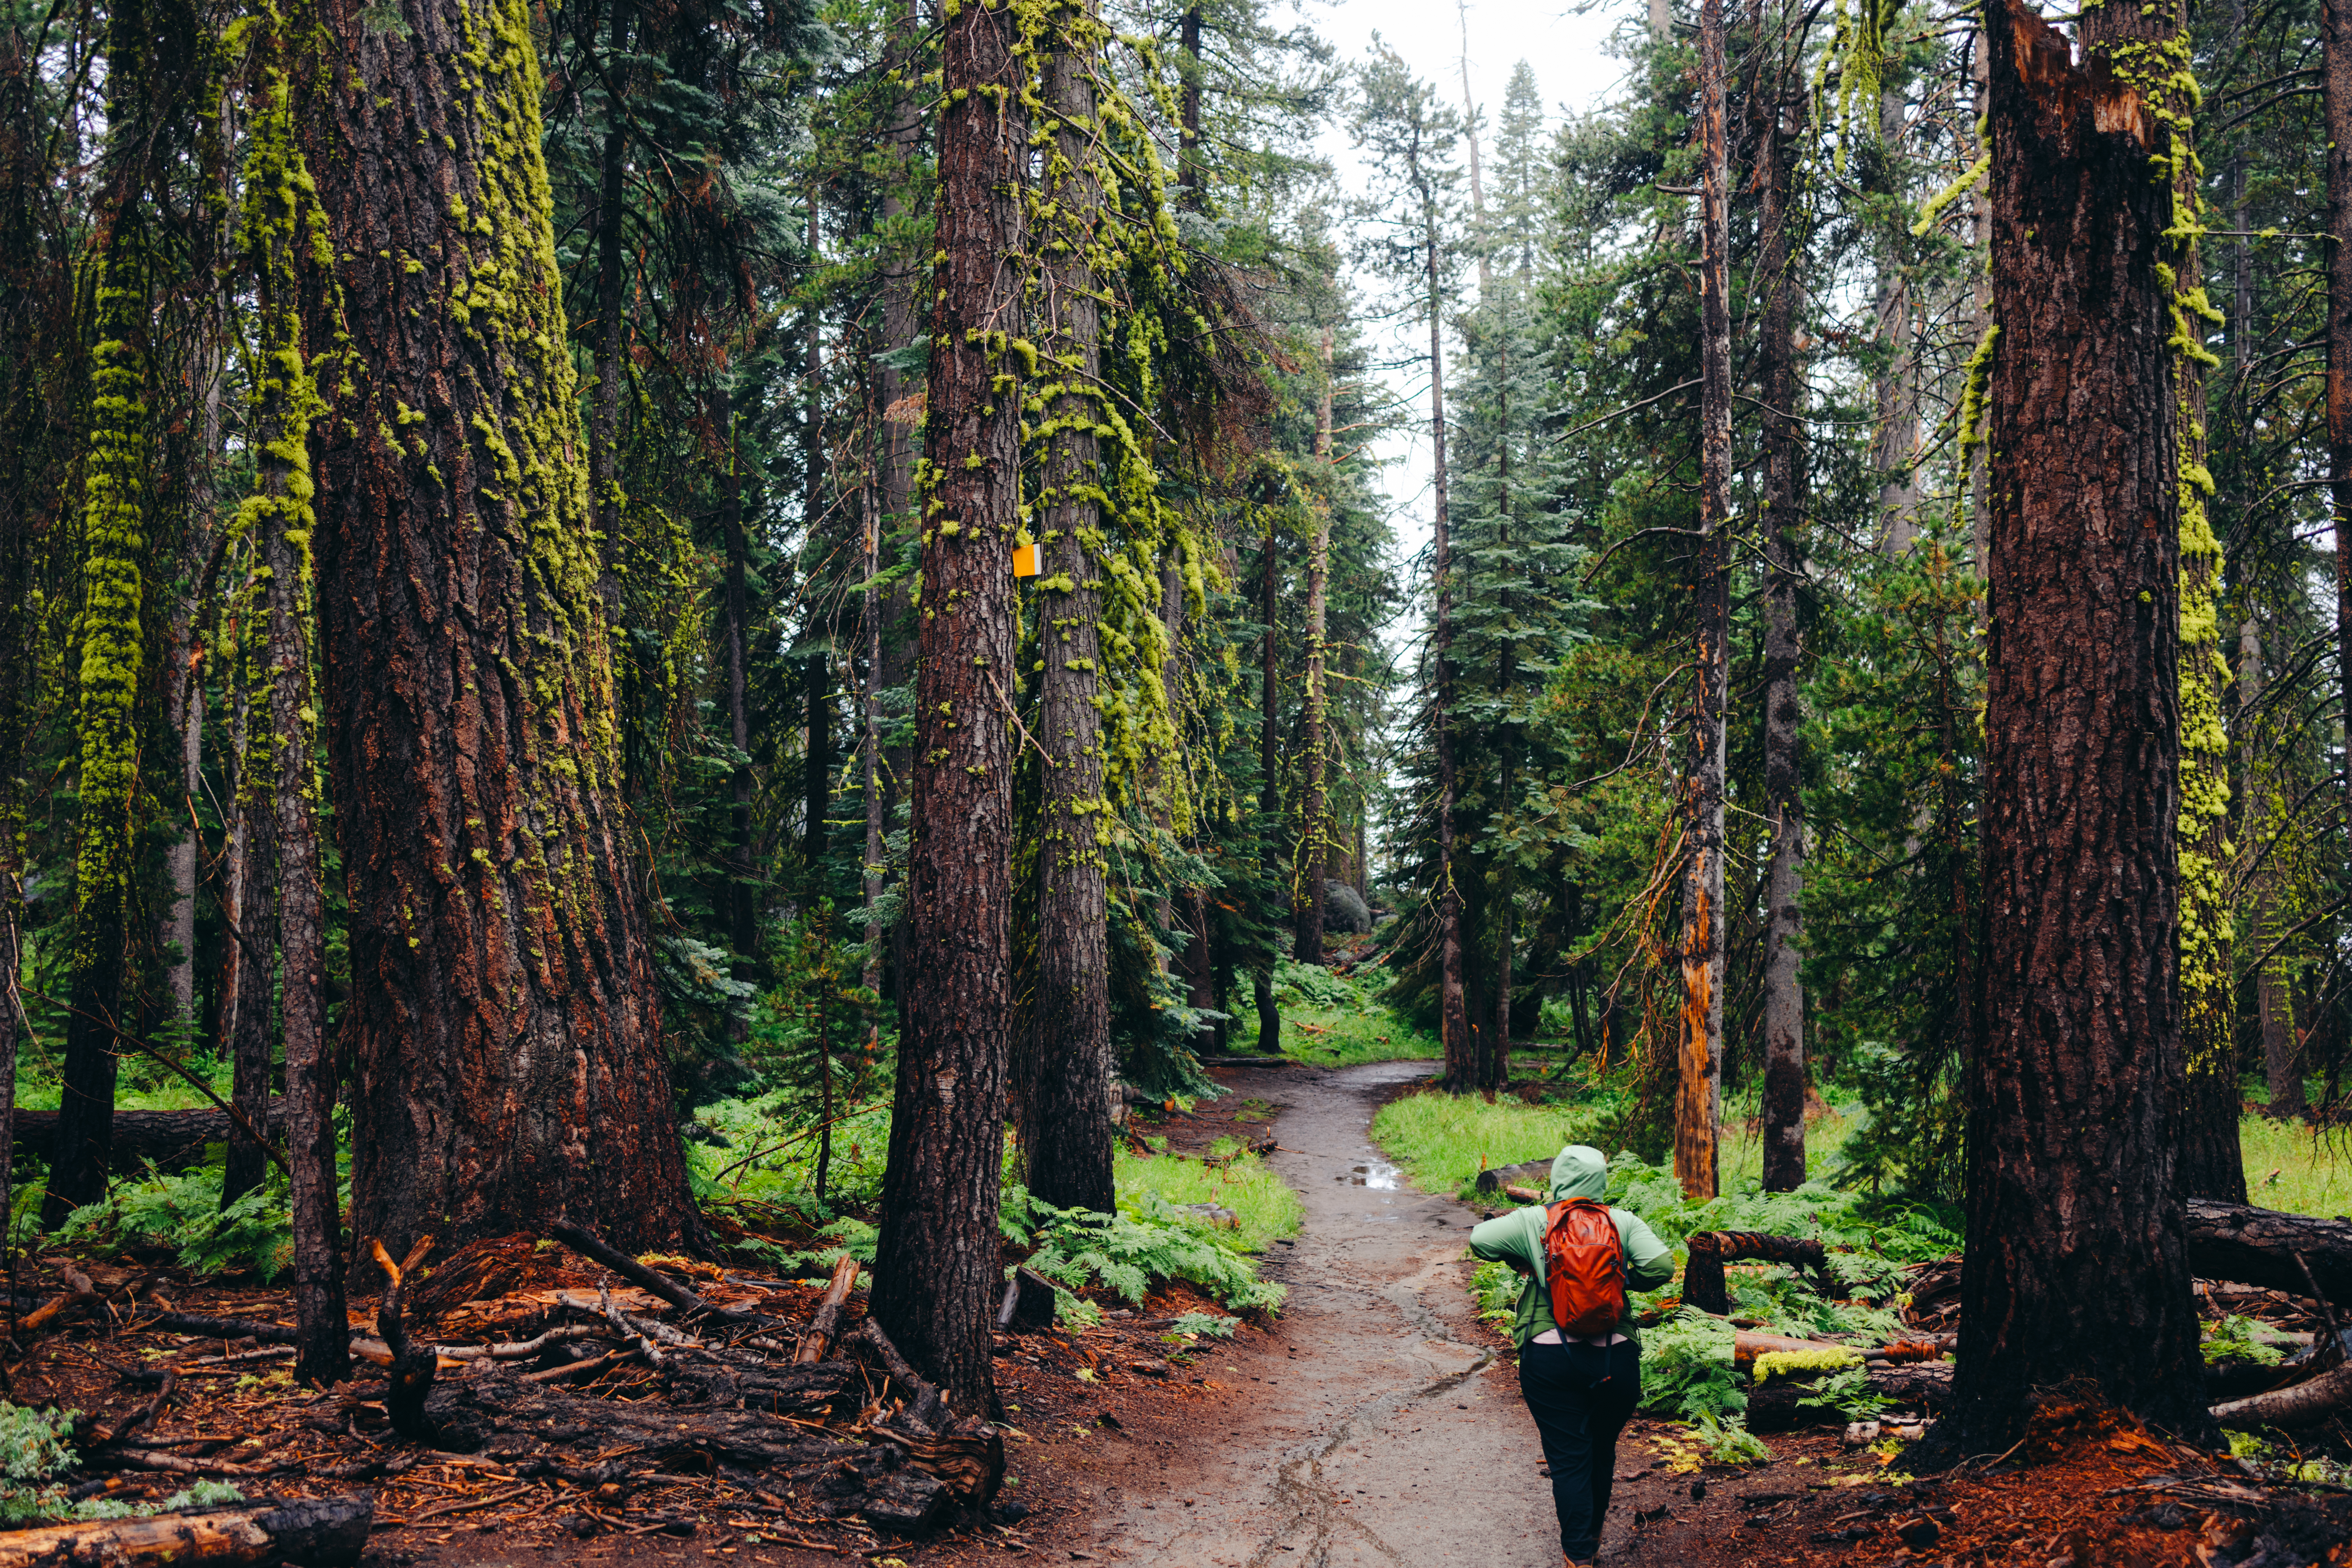
As you come out of the forest, you will see a wide rocky area, leading you down toward Taft Point.
An unexpected surprise for us was getting a chance to see The Fissures. The Fissures are these giant slots in between the cliffs. They allow you to peer down hundreds of feet into the valley. It was simultaneously eerie and thrilling.
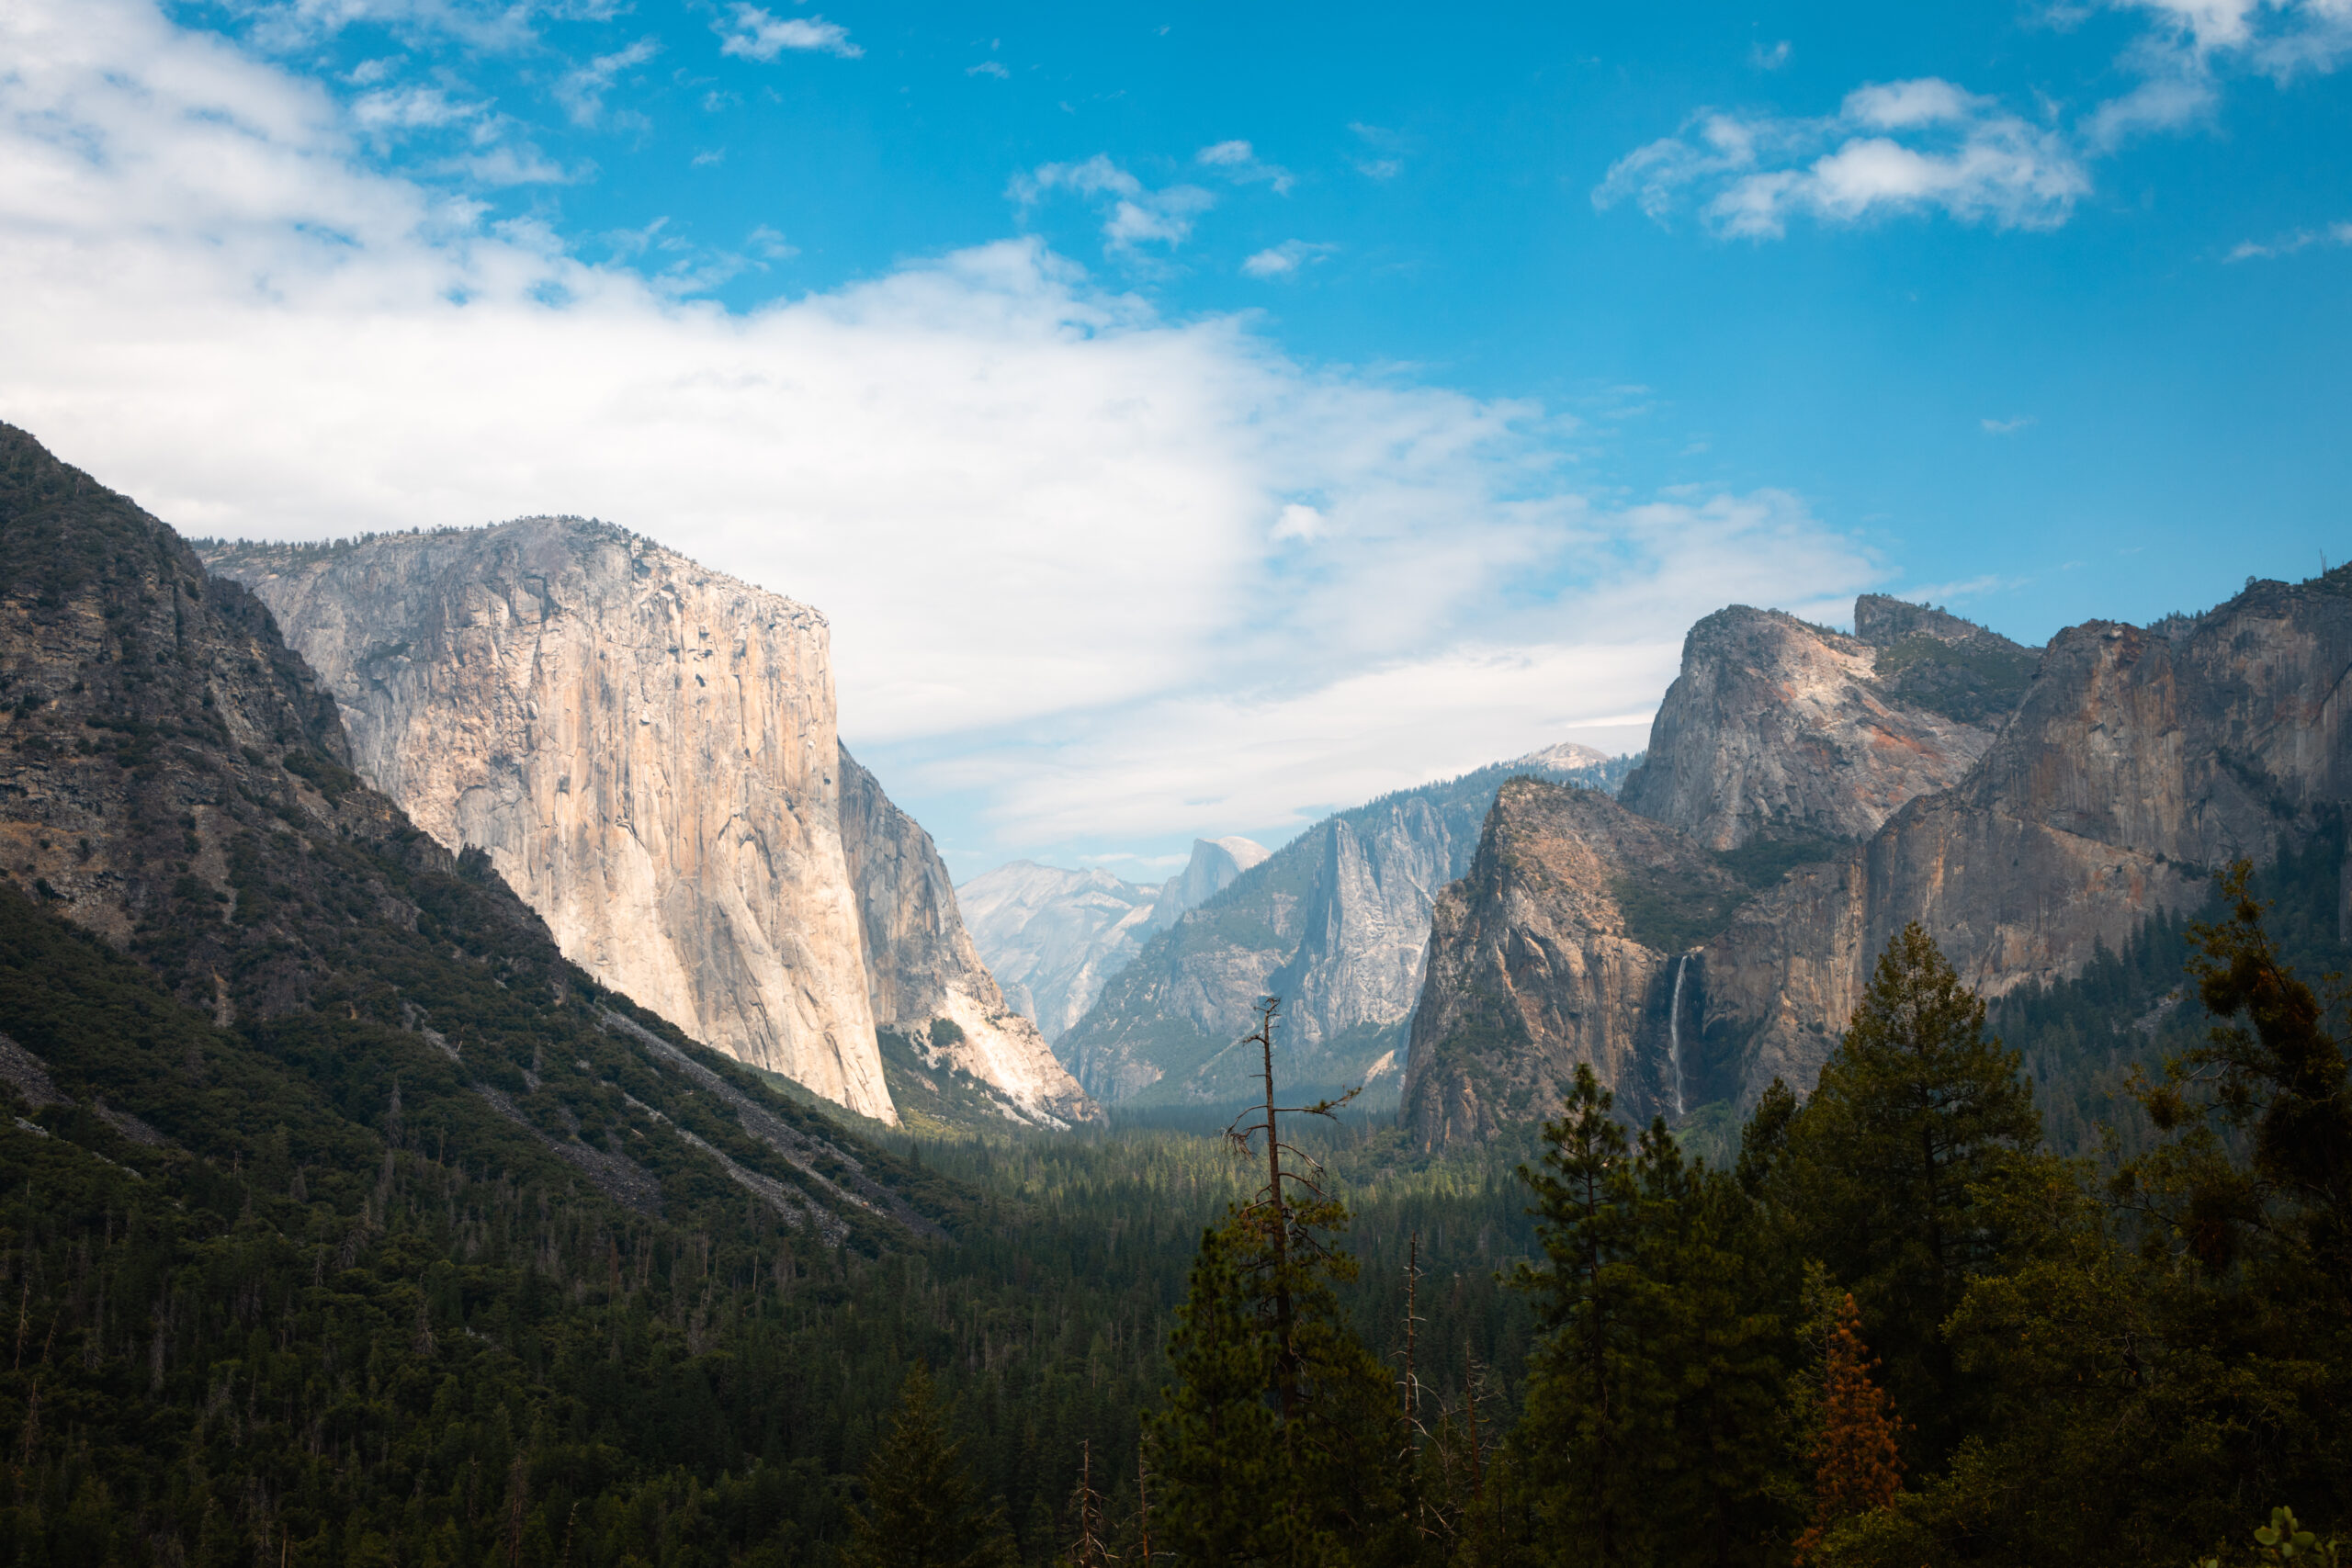
As you get to the end of Taft Point, there is a small, bent rail that gives you the most spectacular view of the valley and El Capitan.
We are VERY sad to report that on the day we went there, there was dense fog hanging over the valley. So we had an expectations vs reality moment, where we quite literally saw nothing but fog!

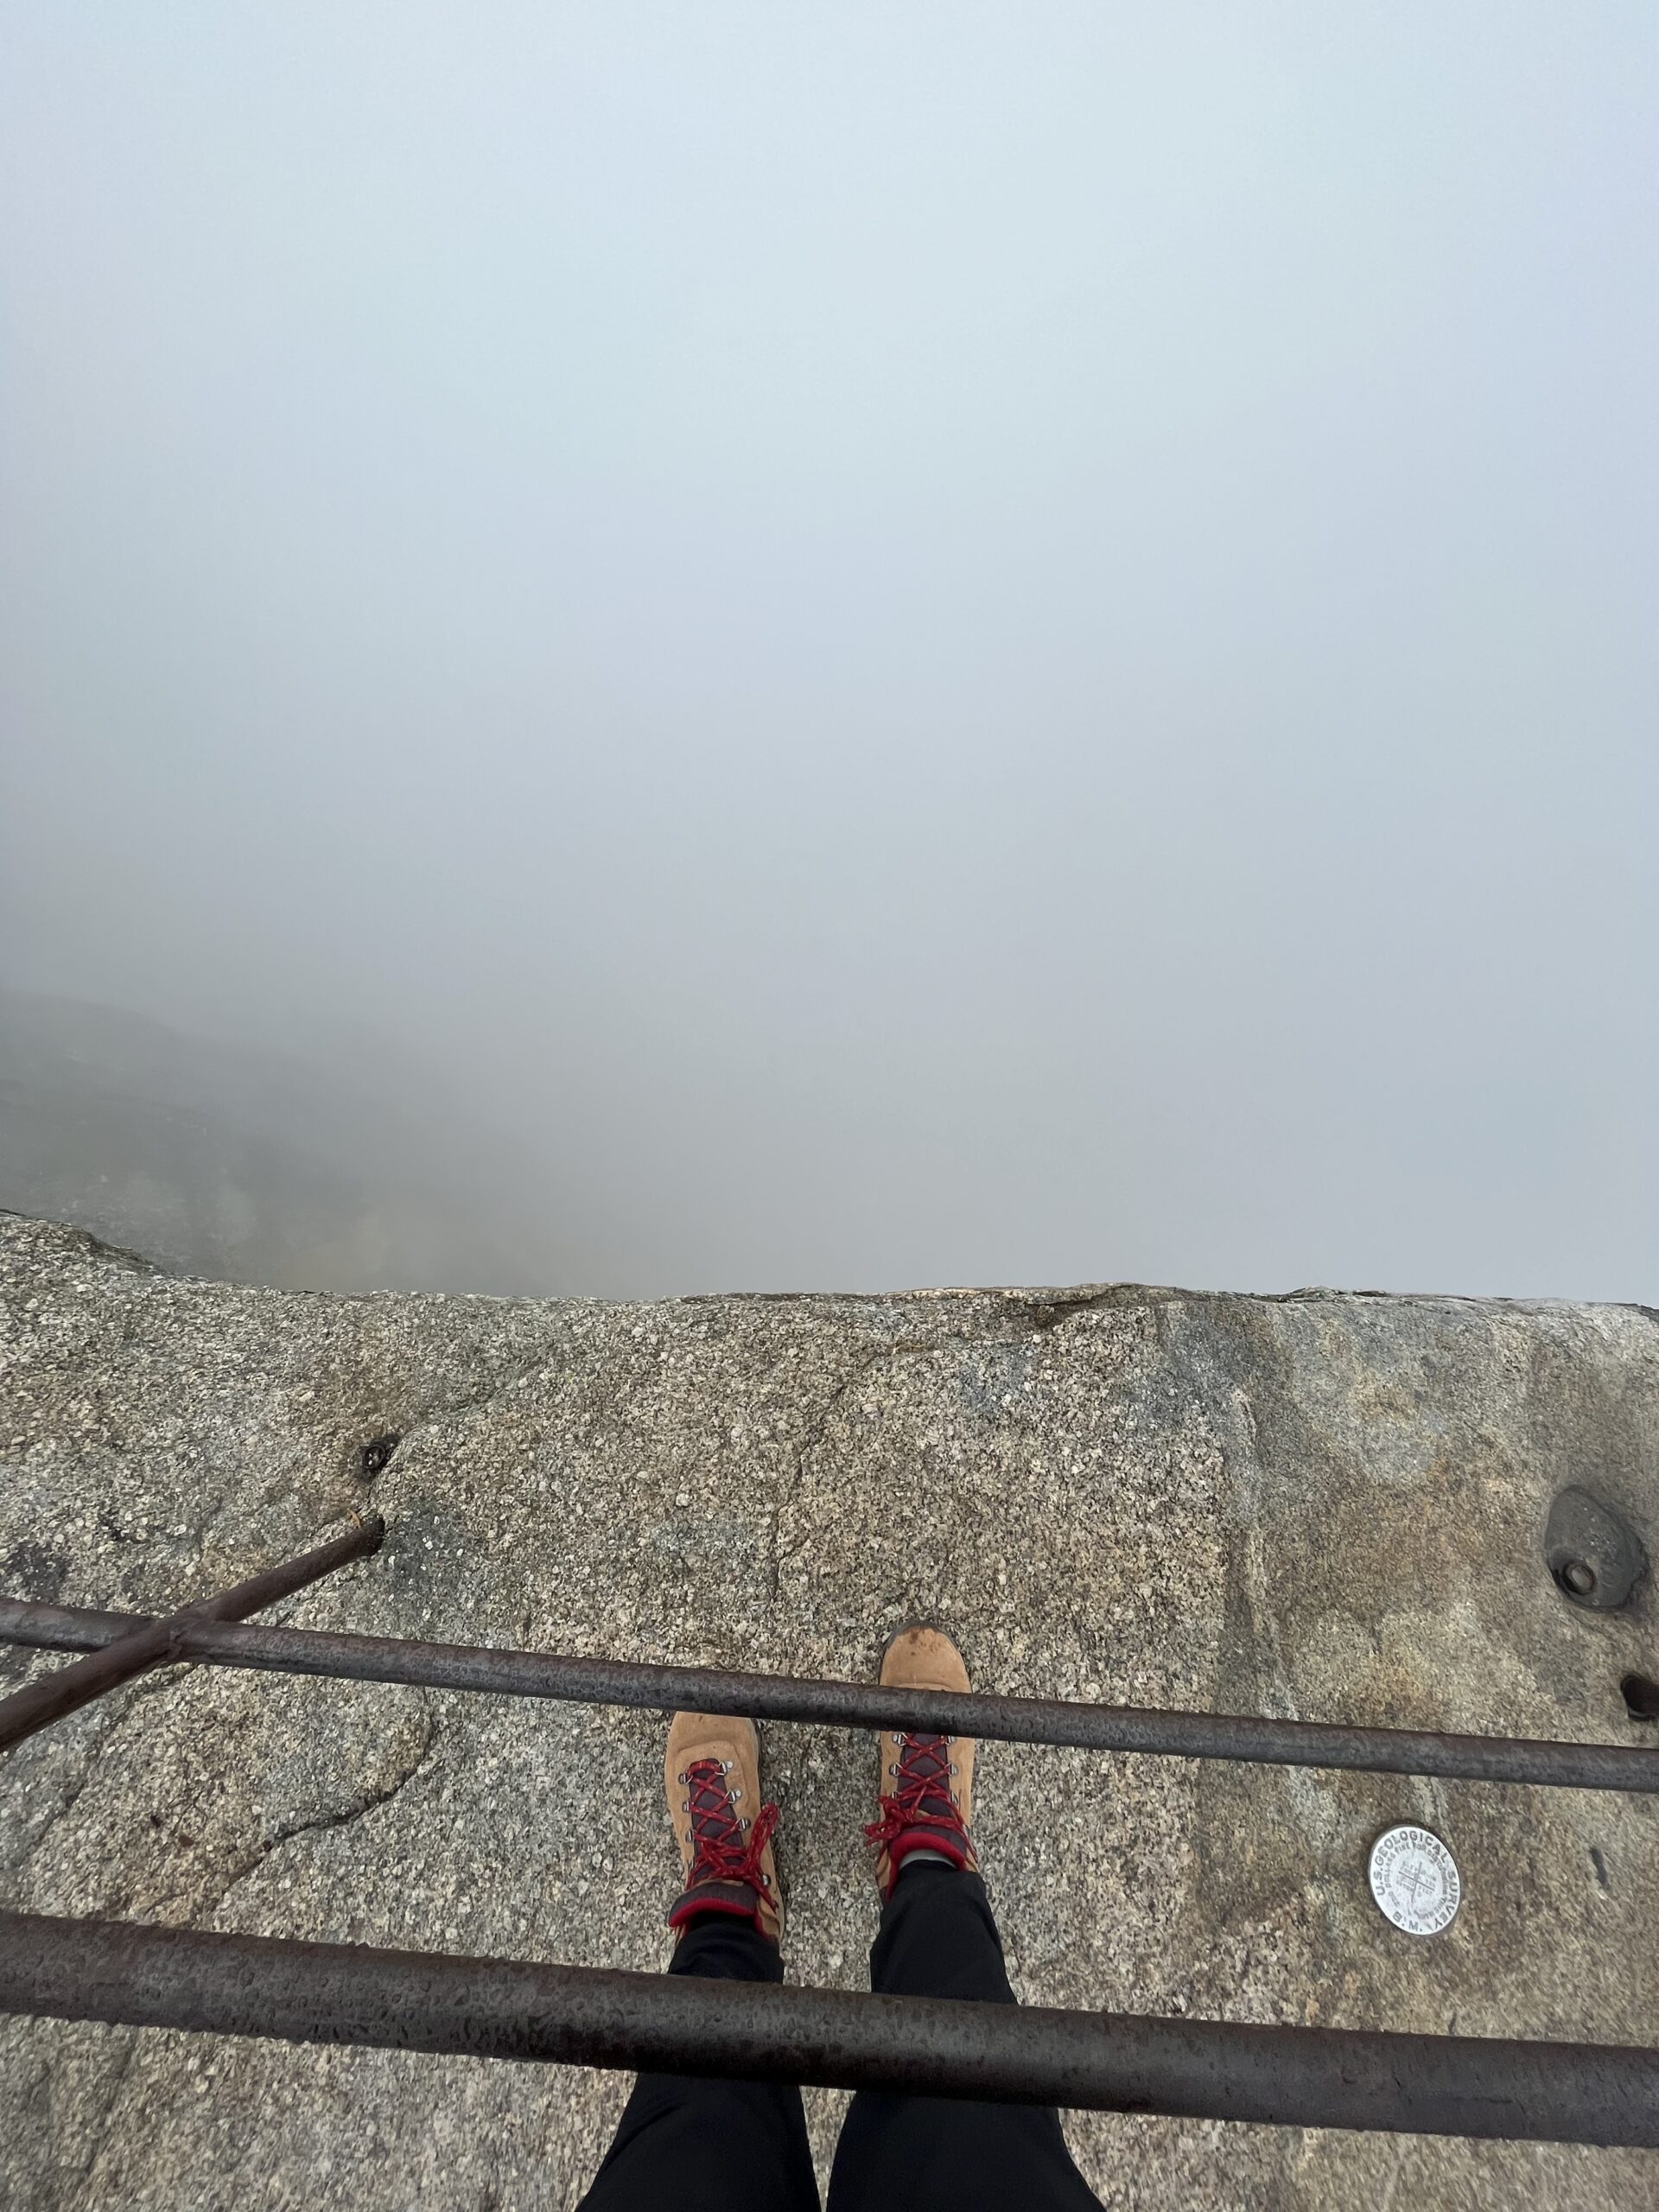
Even so, peering over the railing into the dense fog had our hearts racing!
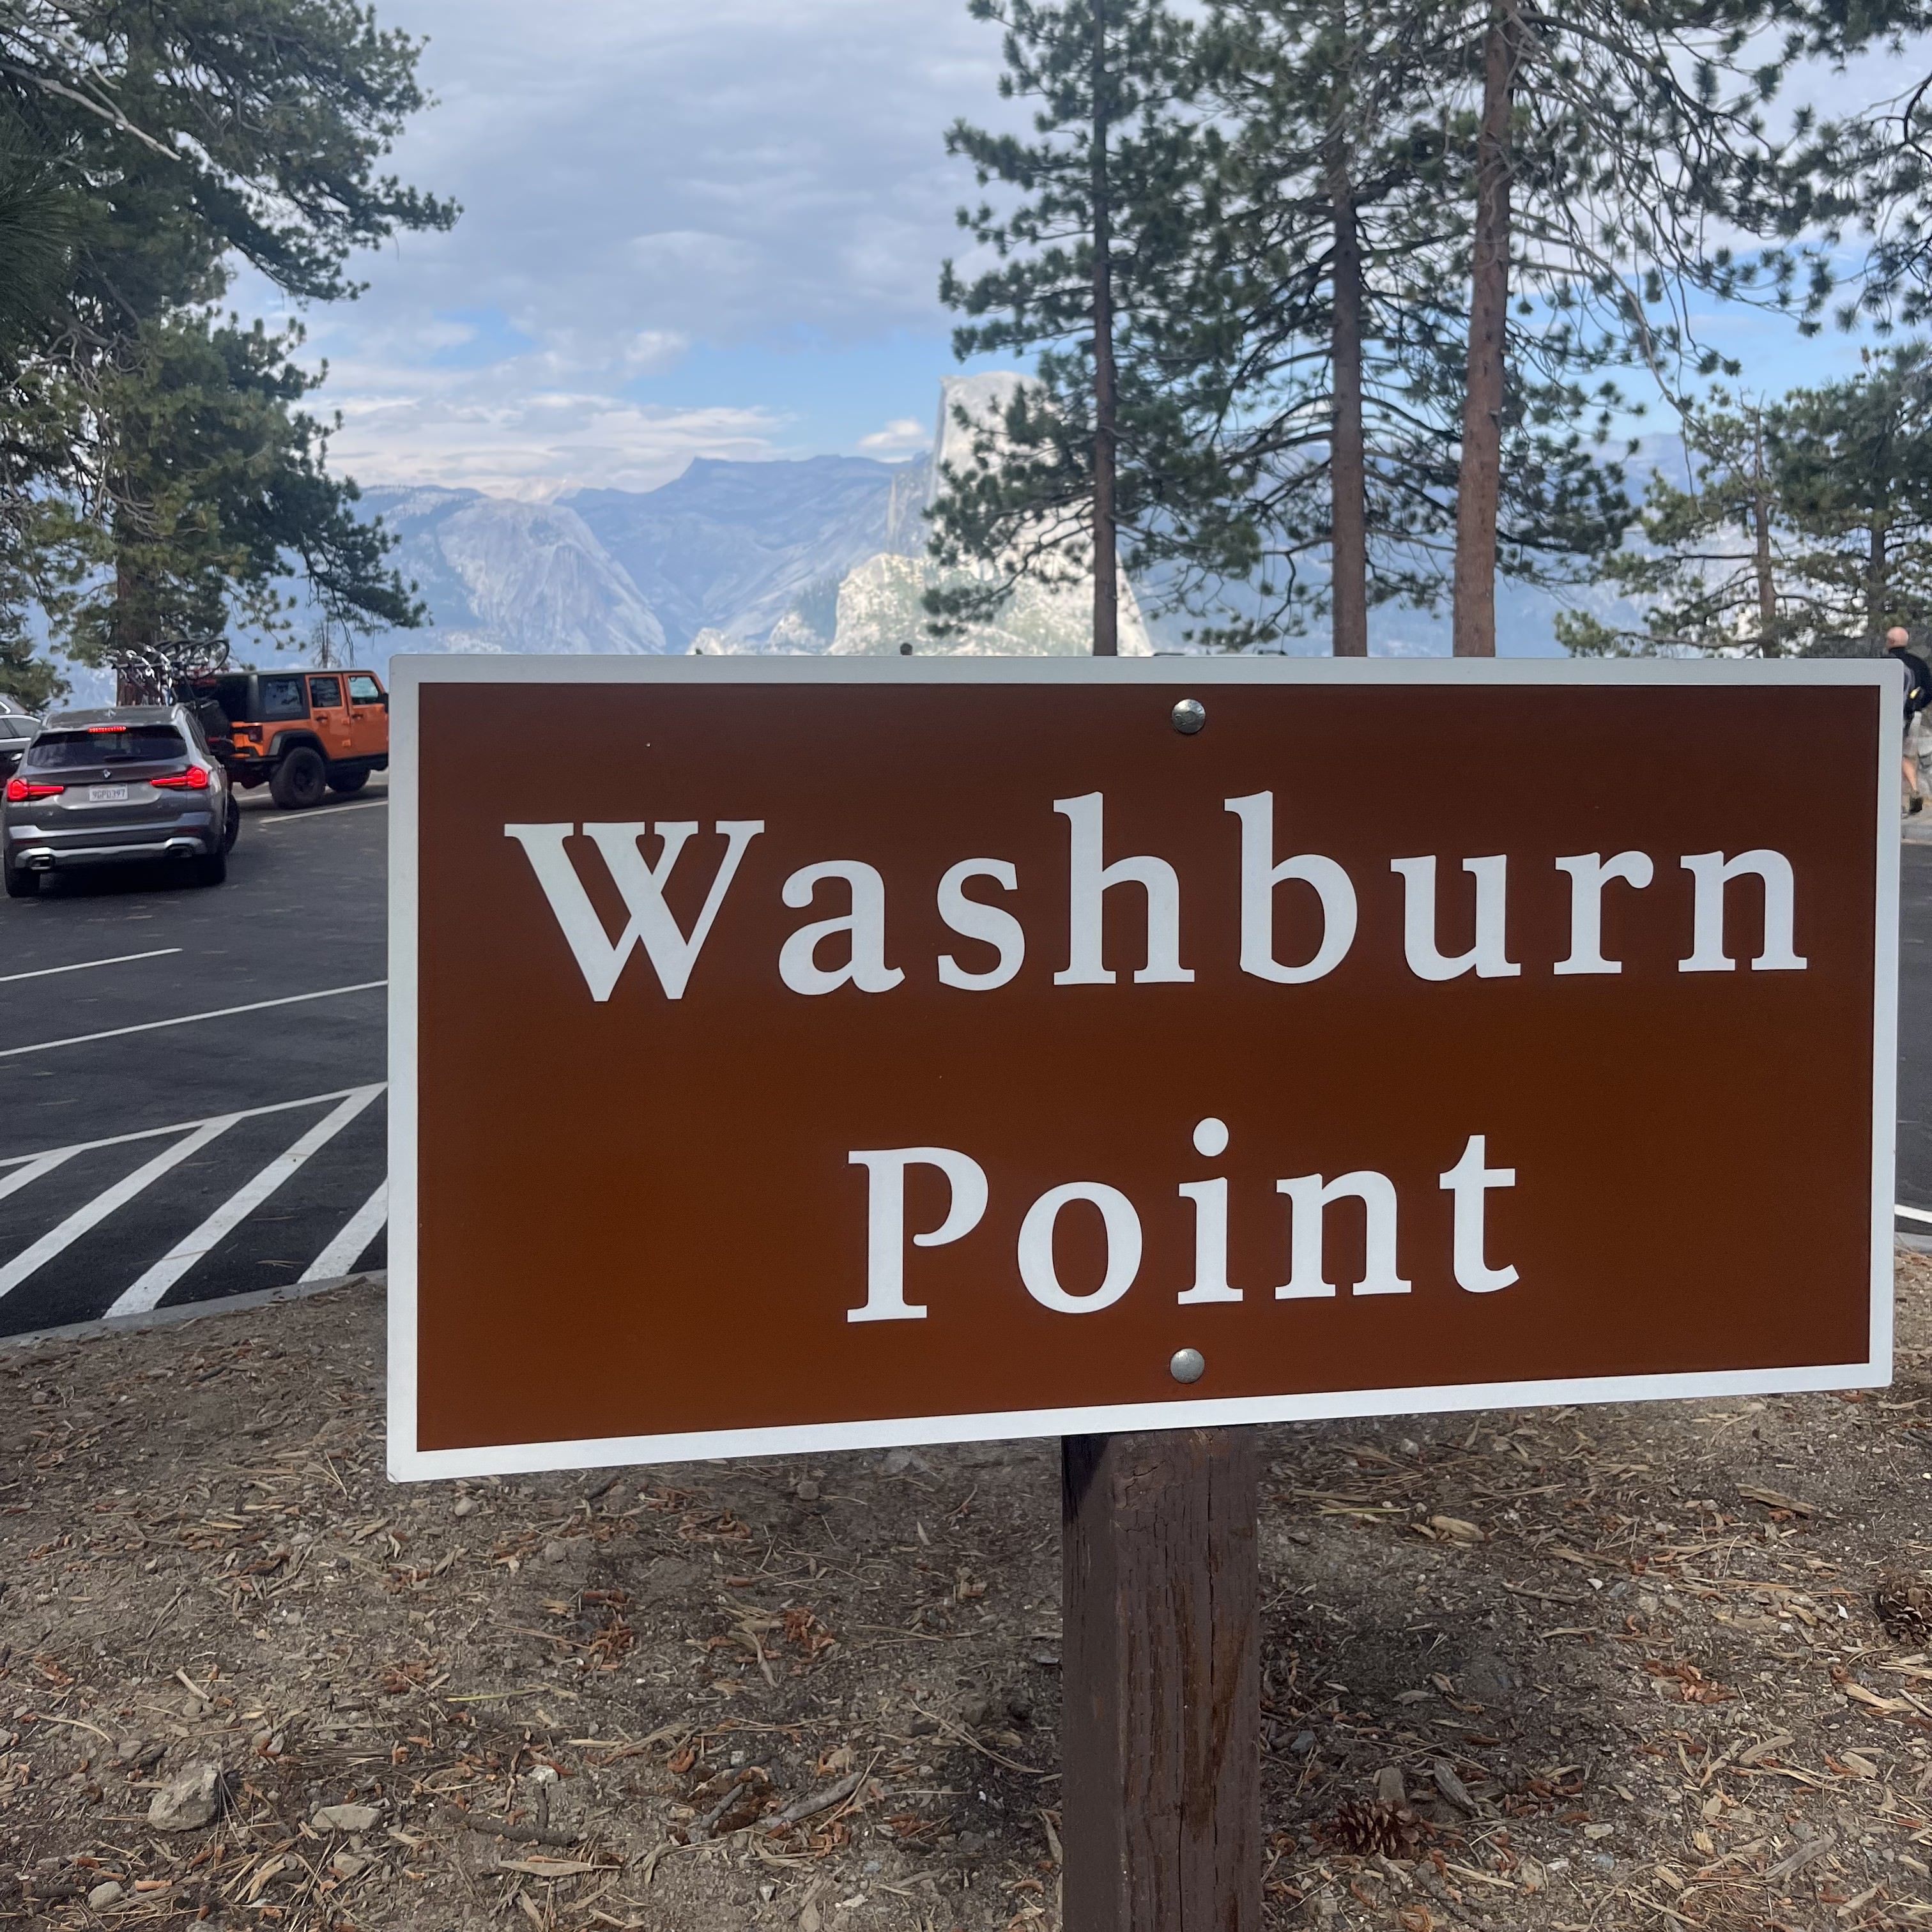
Washburn Point
Washburn Point is an underrated view off Glacier Point Road.
Located less than one mile from Glacier Point, it’s easy to be tempted to drive past this stop since your ultimate goal is the end of the road. But definitely make the stop!
This area has a large parking lot that leads right up to an amazing overlook of the Yosemite Valley. You will get a nice view of what might seem like the “back end” of Half Dome and a really clear view of Nevada Falls (more on that later!).
The few steps down to the overlook are quite easy and the views alone make the stop worth it.
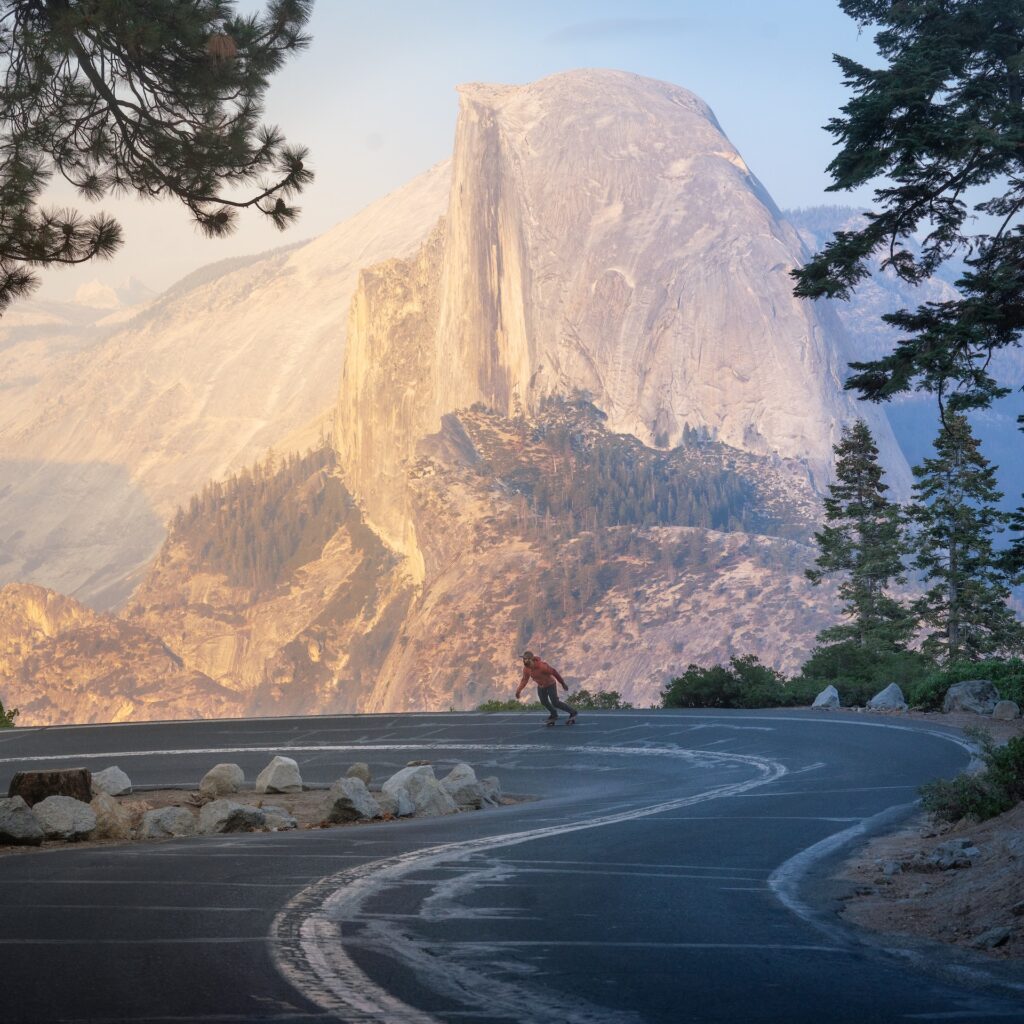
As you make your way up to Glacier Point, drive slowly for a truly iconic shot of Half Dome behind the winding road.
If you’re lucky and there are no cars, drive extra slowly to take a video or picture of this incredible view. Almost any image you’ve googled for Glacier Point road has given you this image.
Explore Glacier Point Area
There is lots to explore around the Glacier Point area and you have to stop at each one of these! There are connected upper and lower parking areas and one oversize vehicle space.
Enjoy the Glacier Point Amphitheater. There is a small set of stairs and plenty of places to sit and enjoy the sweeping views of the valley.
Make your way up to a stone-built awning, which has some cool information about Glacier Point to go along with the beautiful view.
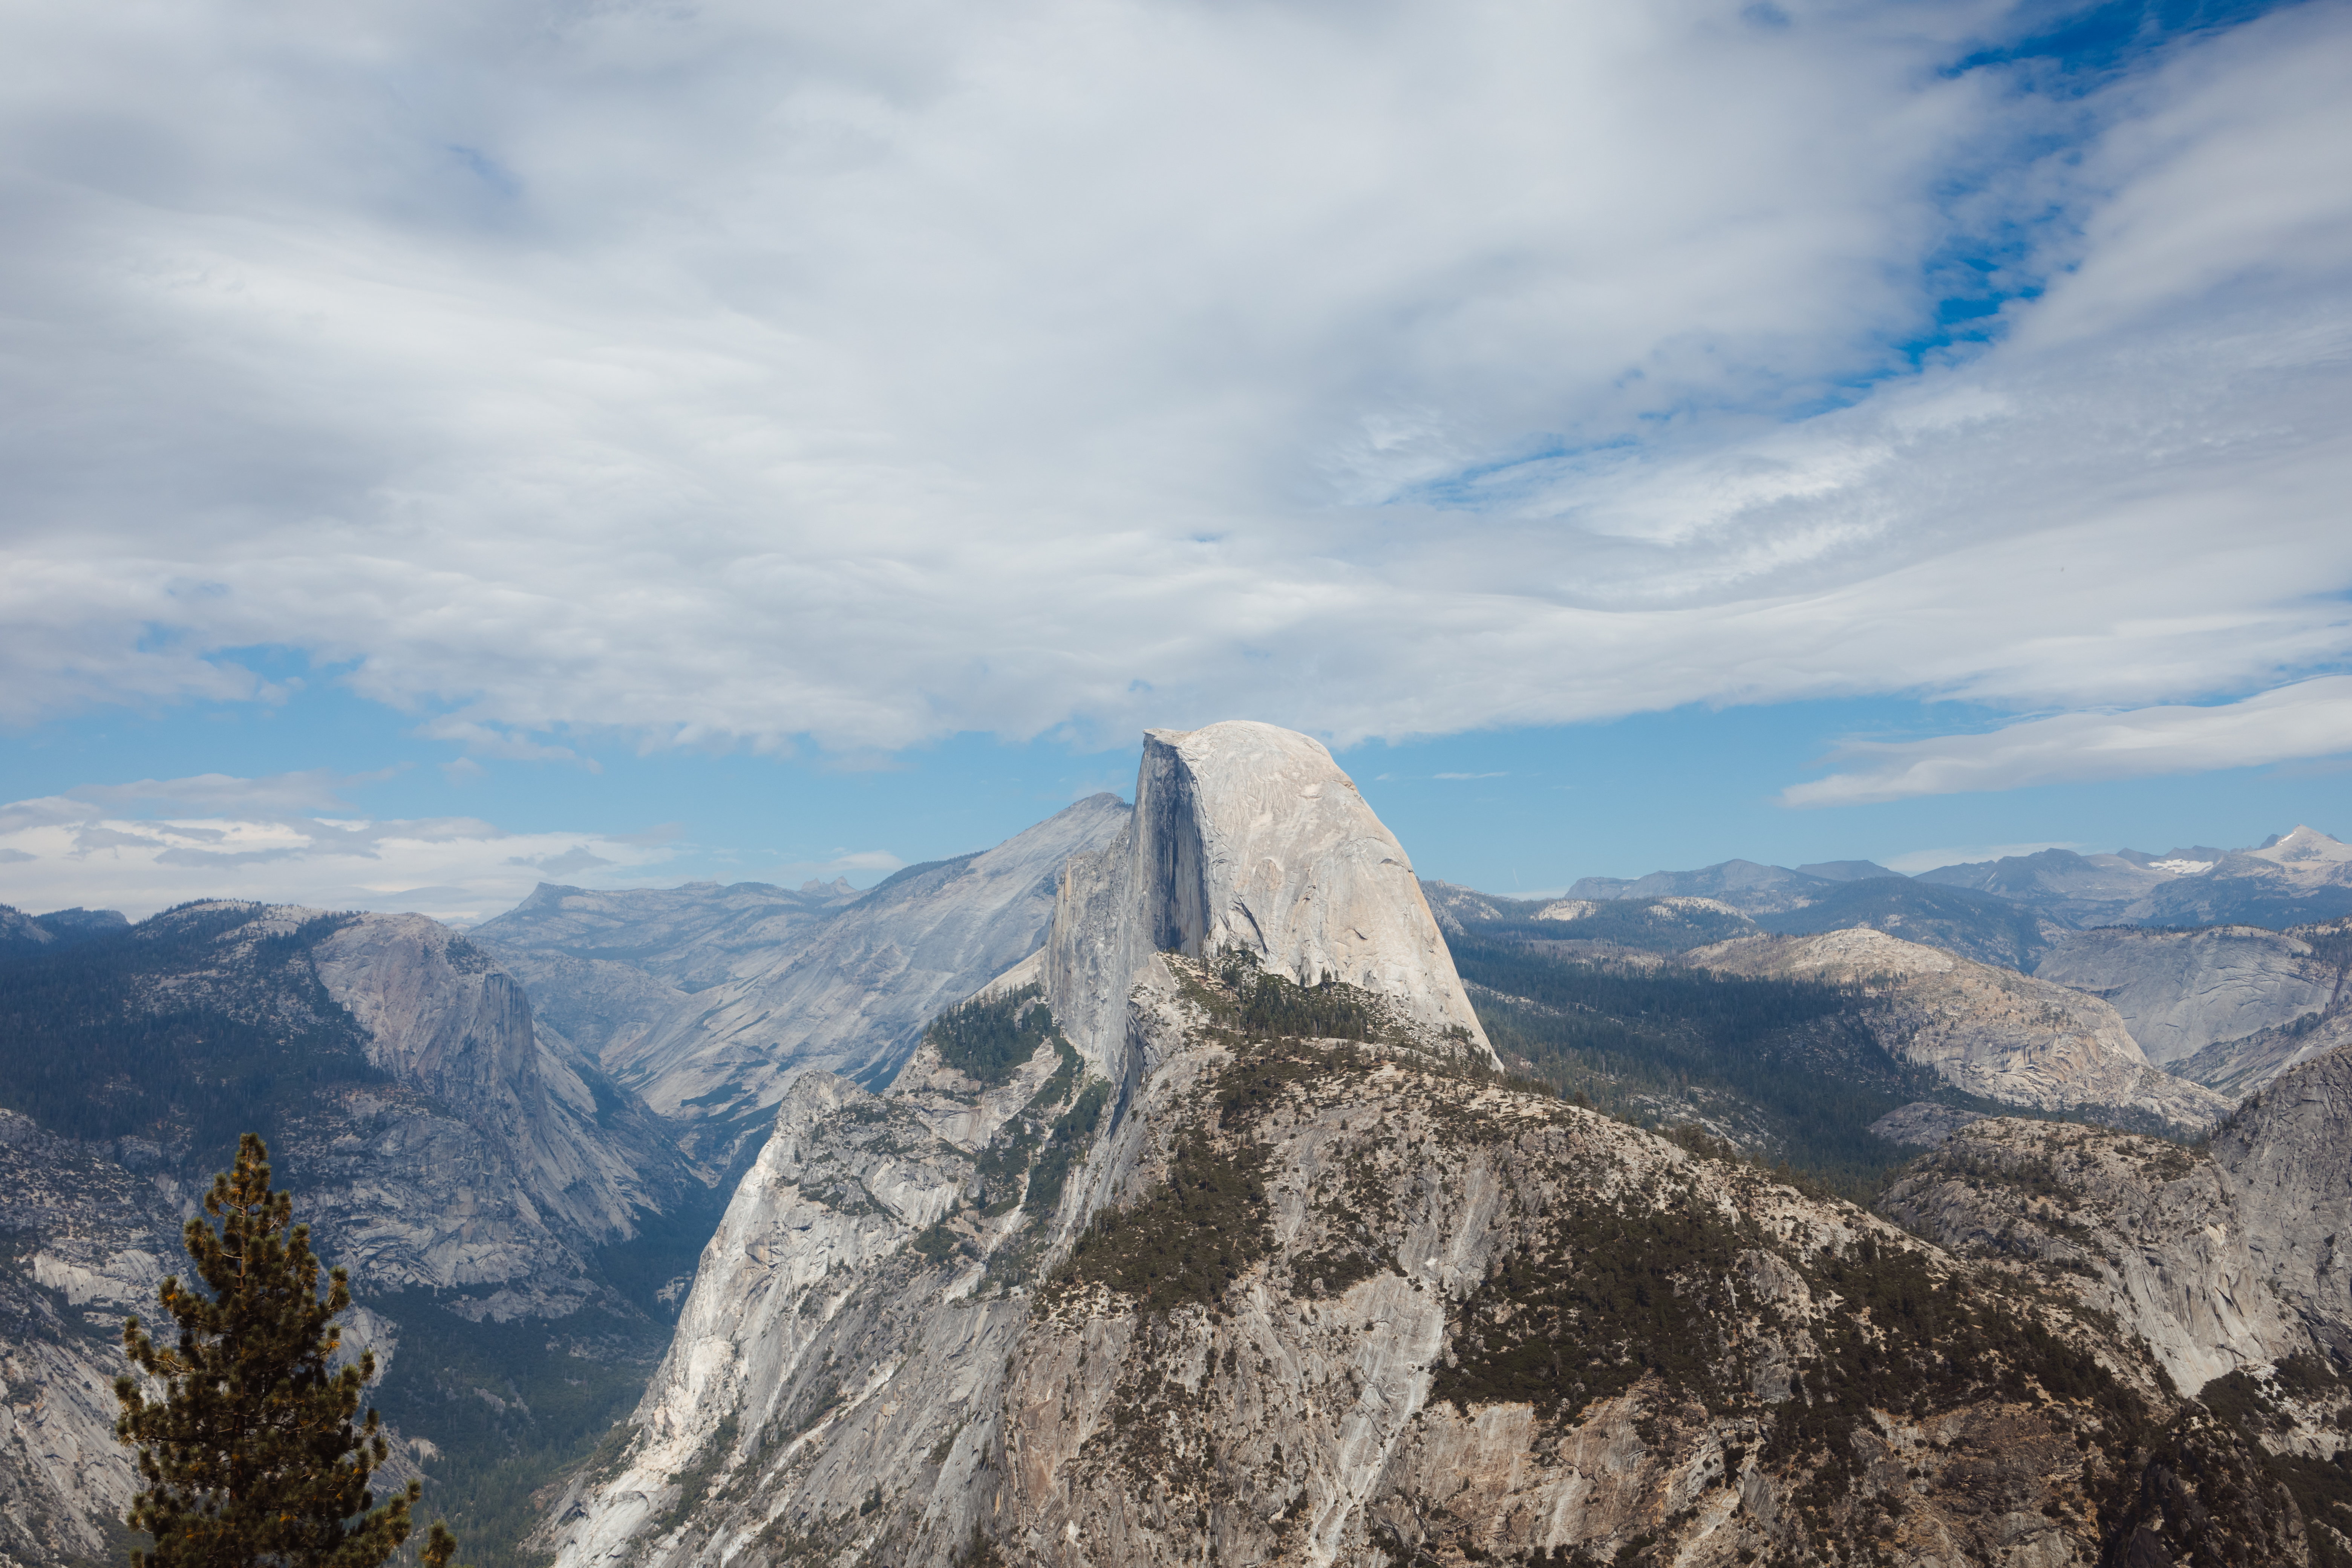
And make your way all the way up to the highest end of Glacier Point. This will give you the most expansive view of the valley.
On a clear day, from here you can see Yosemite Falls, Half Dome, Vernal Falls, Nevada Falls, and the entire valley winding through the mountains and rock.
It’s one of the most inspiring views we’ve had on any national parks trip.
Optional: Panorama Trail and Four Mile Trail
We didn’t have time (or enough energy) for these trails, but when we go back to Yosemite, we definitely will!
The Panorama Trail starts on the south end of Glacier Point and is 8.5 miles one way with a 3,200 feet elevation change. The hike descends down into the valley, taking you through Nevada Falls, Vernal Falls, and eventually through the Mist Trail.
The Four Mile Trail starts on the north end of Glacier Point and descends 4.8 miles into the valley. This hike similarly has 3,200 feet of elevation change.
Both of these hikes will give you sweeping views of the valley!
The biggest challenge for these two hikes is there is no shuttle up or down from Glacier Point. You would need to plan your day around these round trip hikes. Each of which would take you between 4-6 hours to complete, with strenuous elevation change.
For an Epic Hike in Yosemite:
- Start at the Four Mile Trailhead in the valley
- Hike up to Glacier Point and stop for lunch
- Make your way back down to the valley via the Panorama Trail.
It would be long and tough, but it’s likely what we will do next time we visit Yosemite!
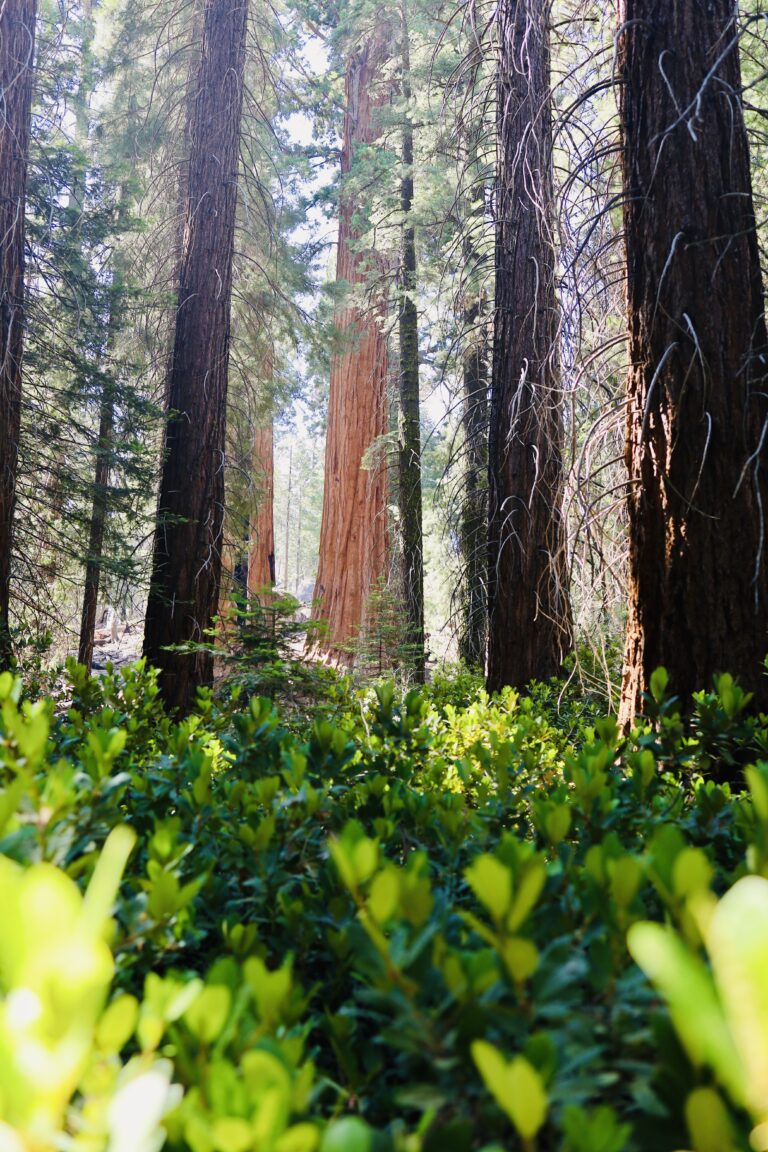
Mariposa Grove
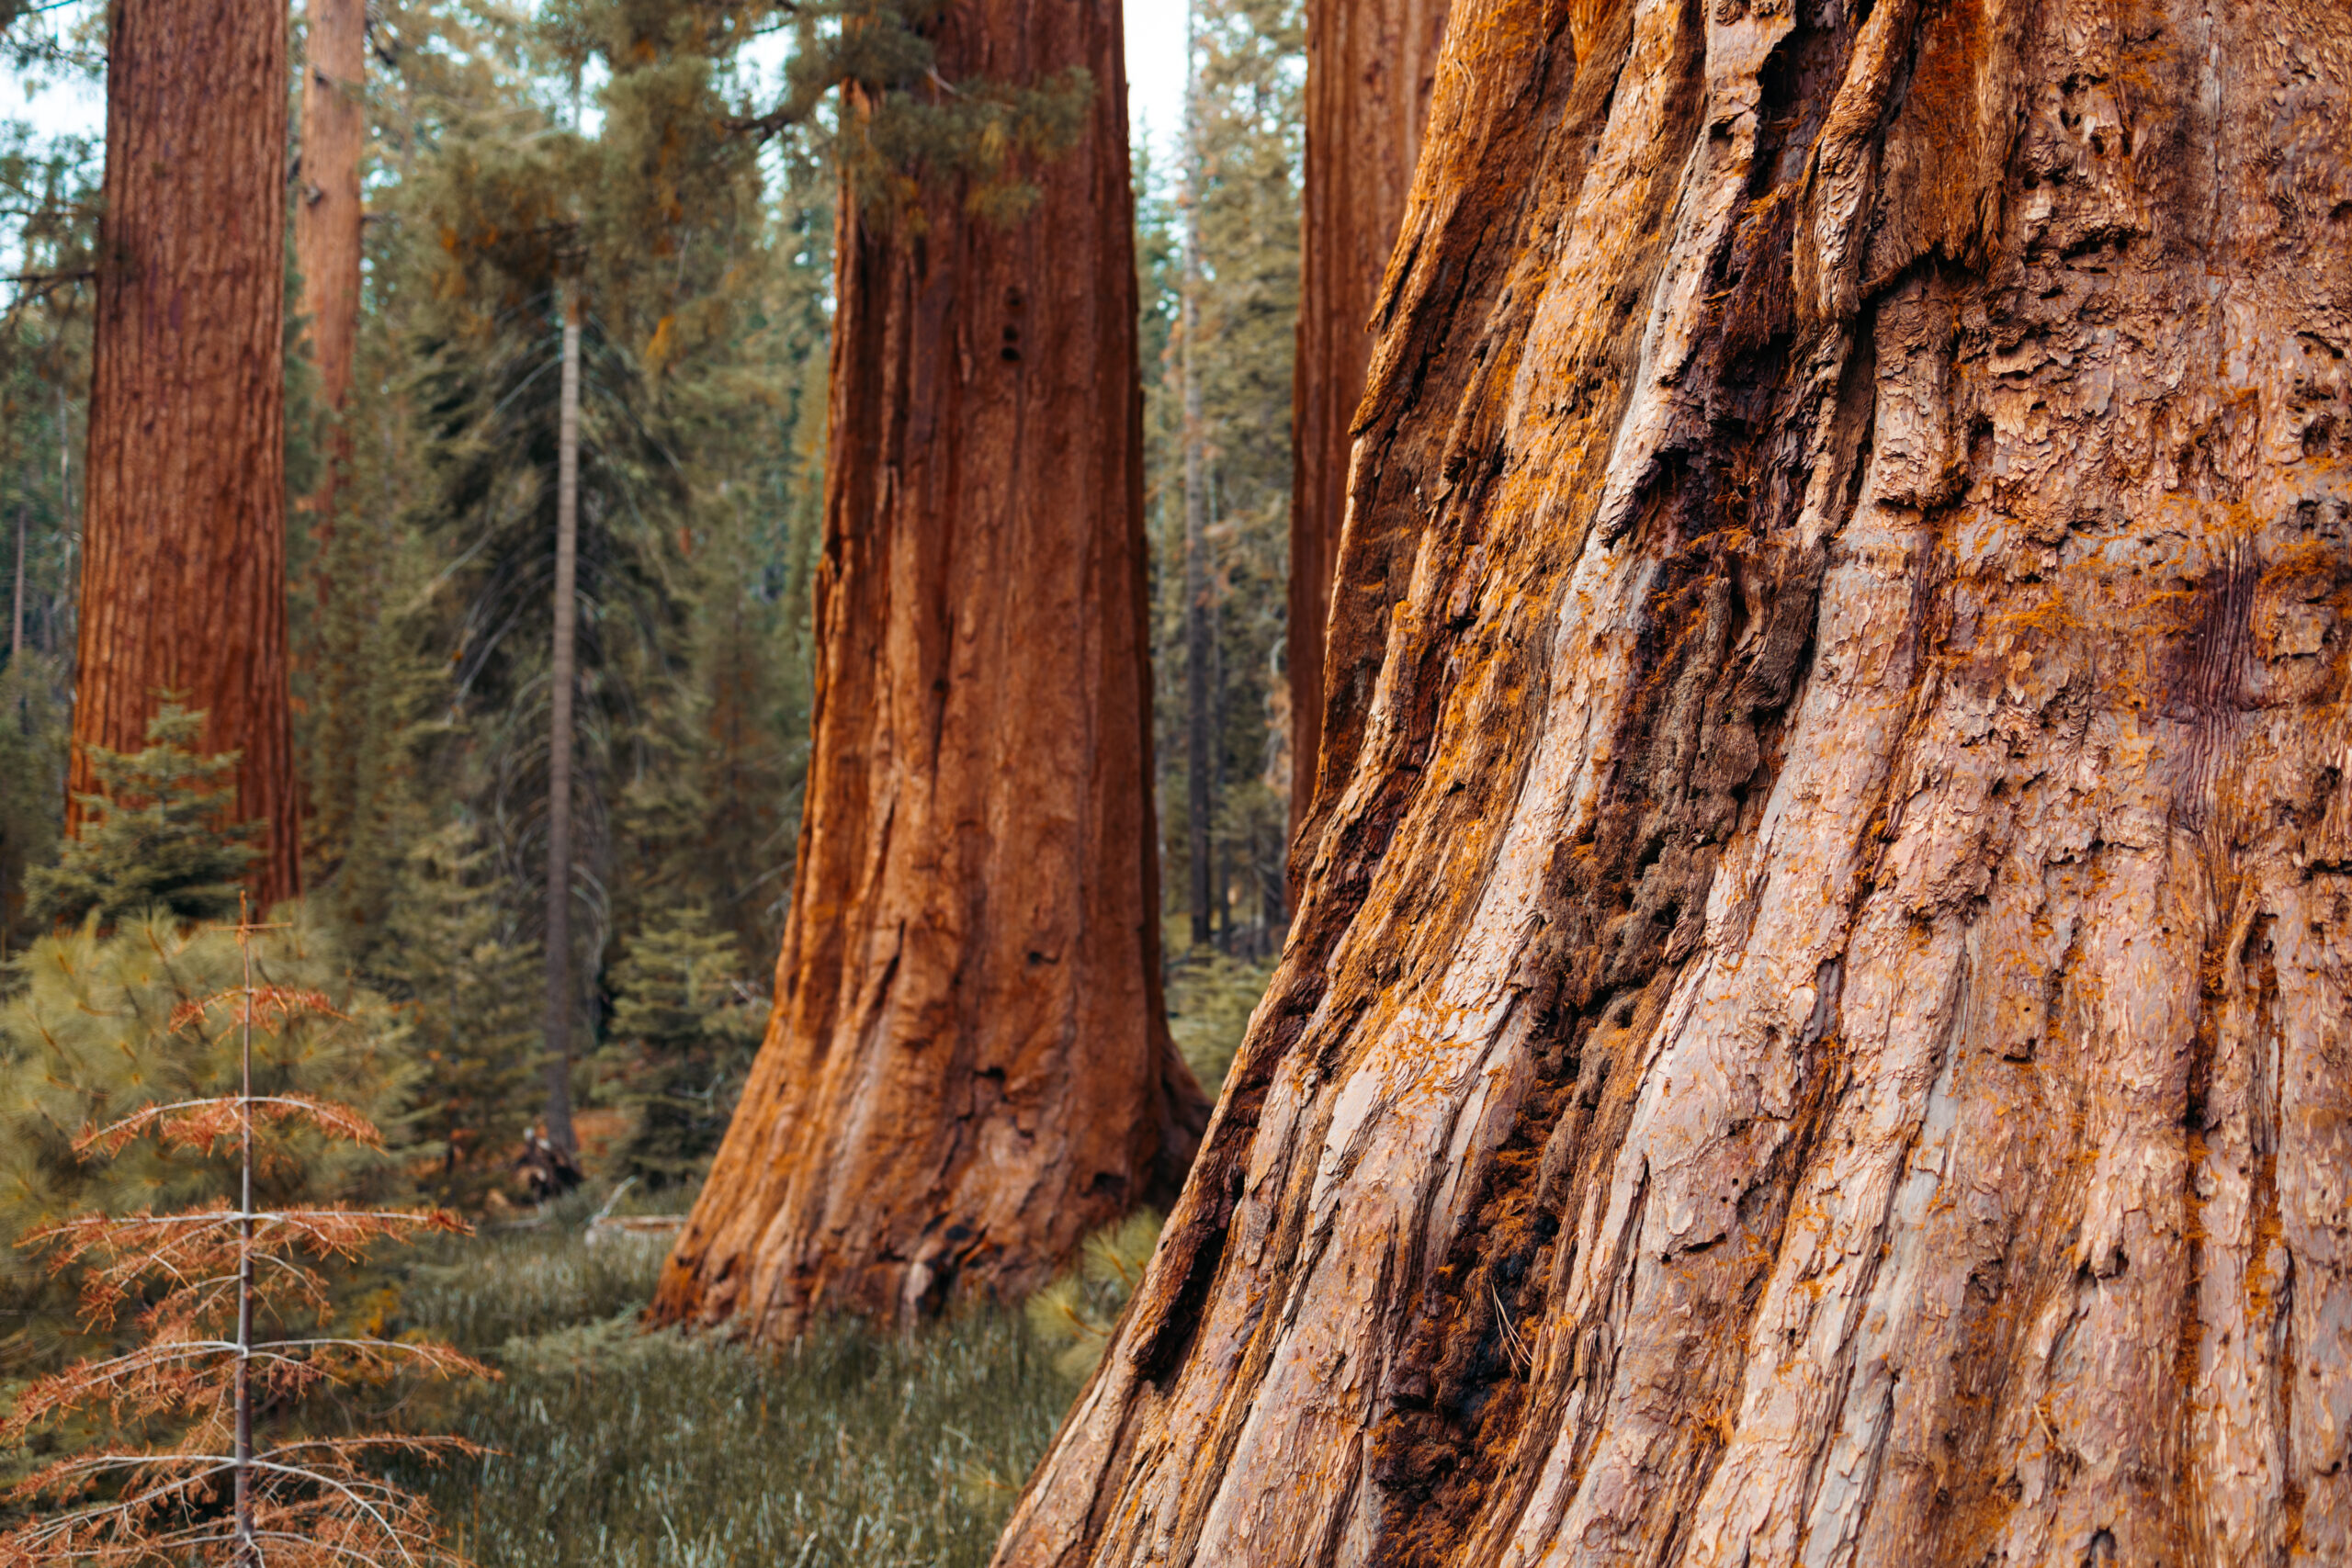
The Mariposa Grove in southern Yosemite is home to approximately 500 sequoia trees.
Giant Sequoia trees are only found natively in the Sierra Nevada Mountain Range. They are notably found in Sequoia National Park and in Yosemite National Park.
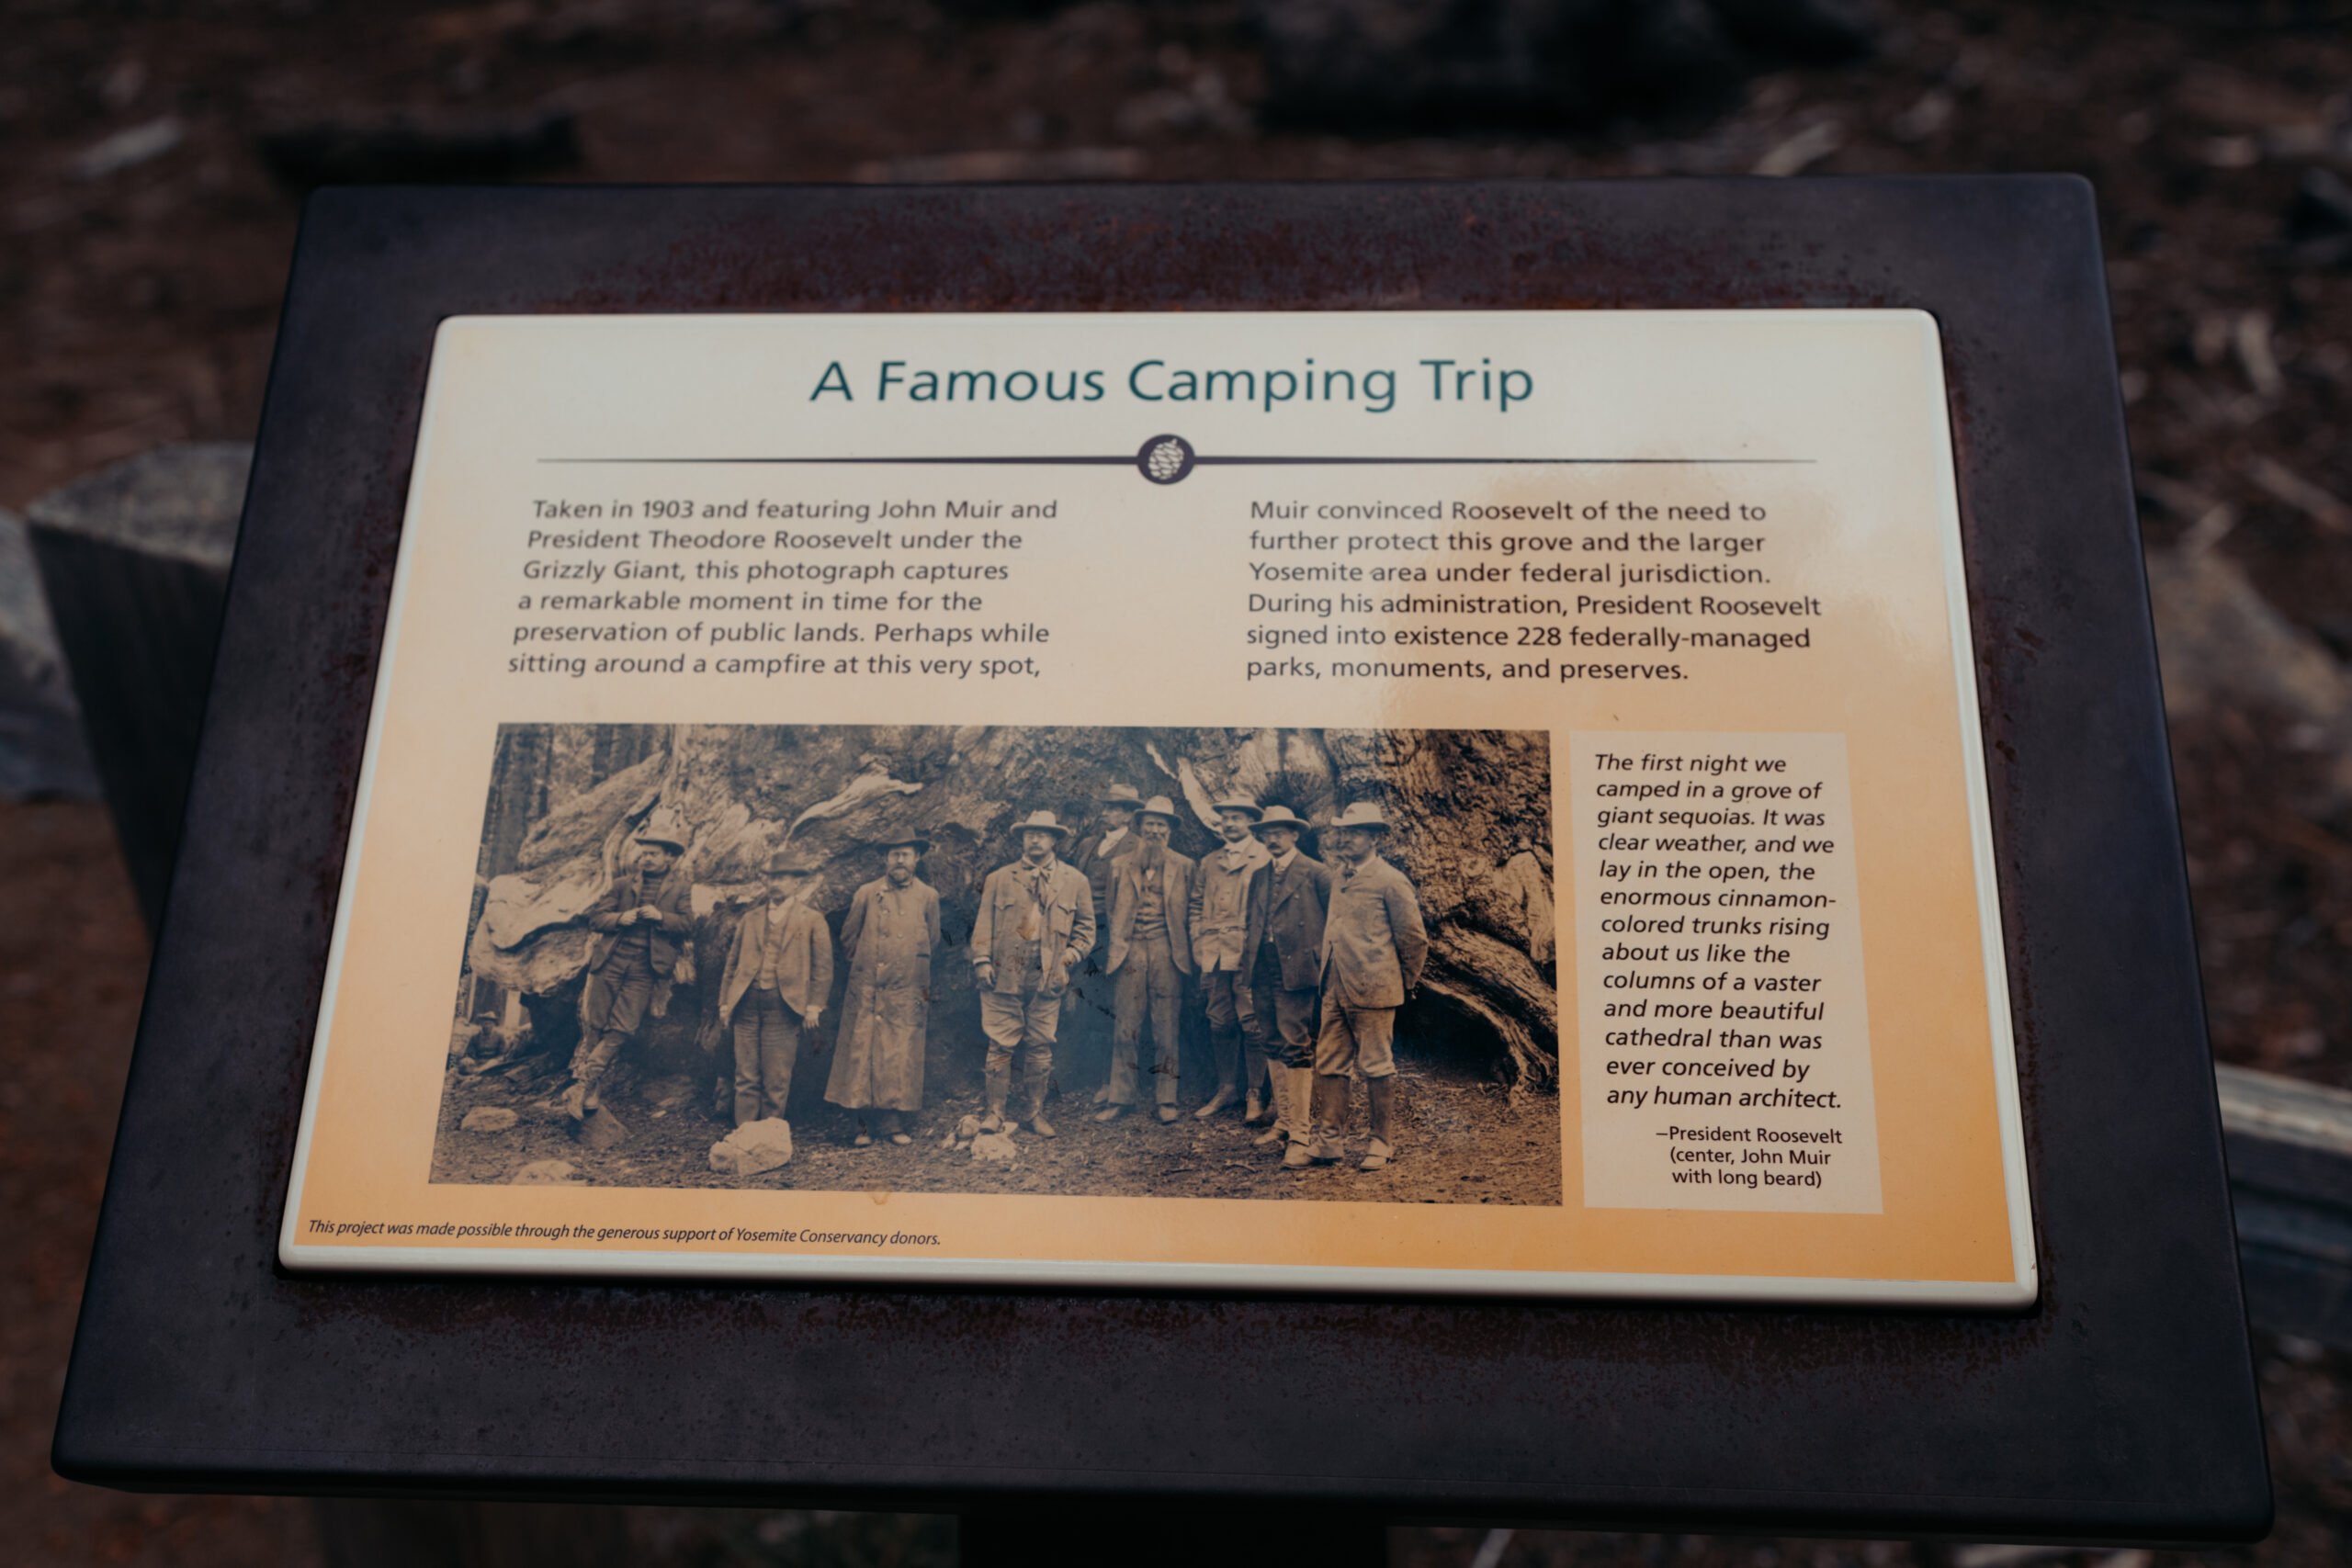
The Grizzly Giant is said to have been the inspiration for President Roosevelt to protect the larger Yosemite area with the help (and convincing) of John Muir.
It’s almost miraculous to think of these very trees standing here hundreds (and even thousands) of years ago.
Exploring the Mariposa Grove is a must-see during your Yosemite 2 day itinerary.
How to Get Around Mariposa Grove: Shuttle
The Mariposa Grove Welcome Plaza Parking is located just after the south entrance to Yosemite National Park.
Take a free shuttle up to the Big Trees Loop trailhead.
The shuttle system runs April 1 to November 30. Rides start at 8am and run until between 5pm and 8pm (depending on the season). The shuttle runs every 15 minutes. From December to March, Mariposa Grove road is closed to vehicles and the shuttle no longer operates.
You can find the season and hours of operation here.
Grizzly Giant
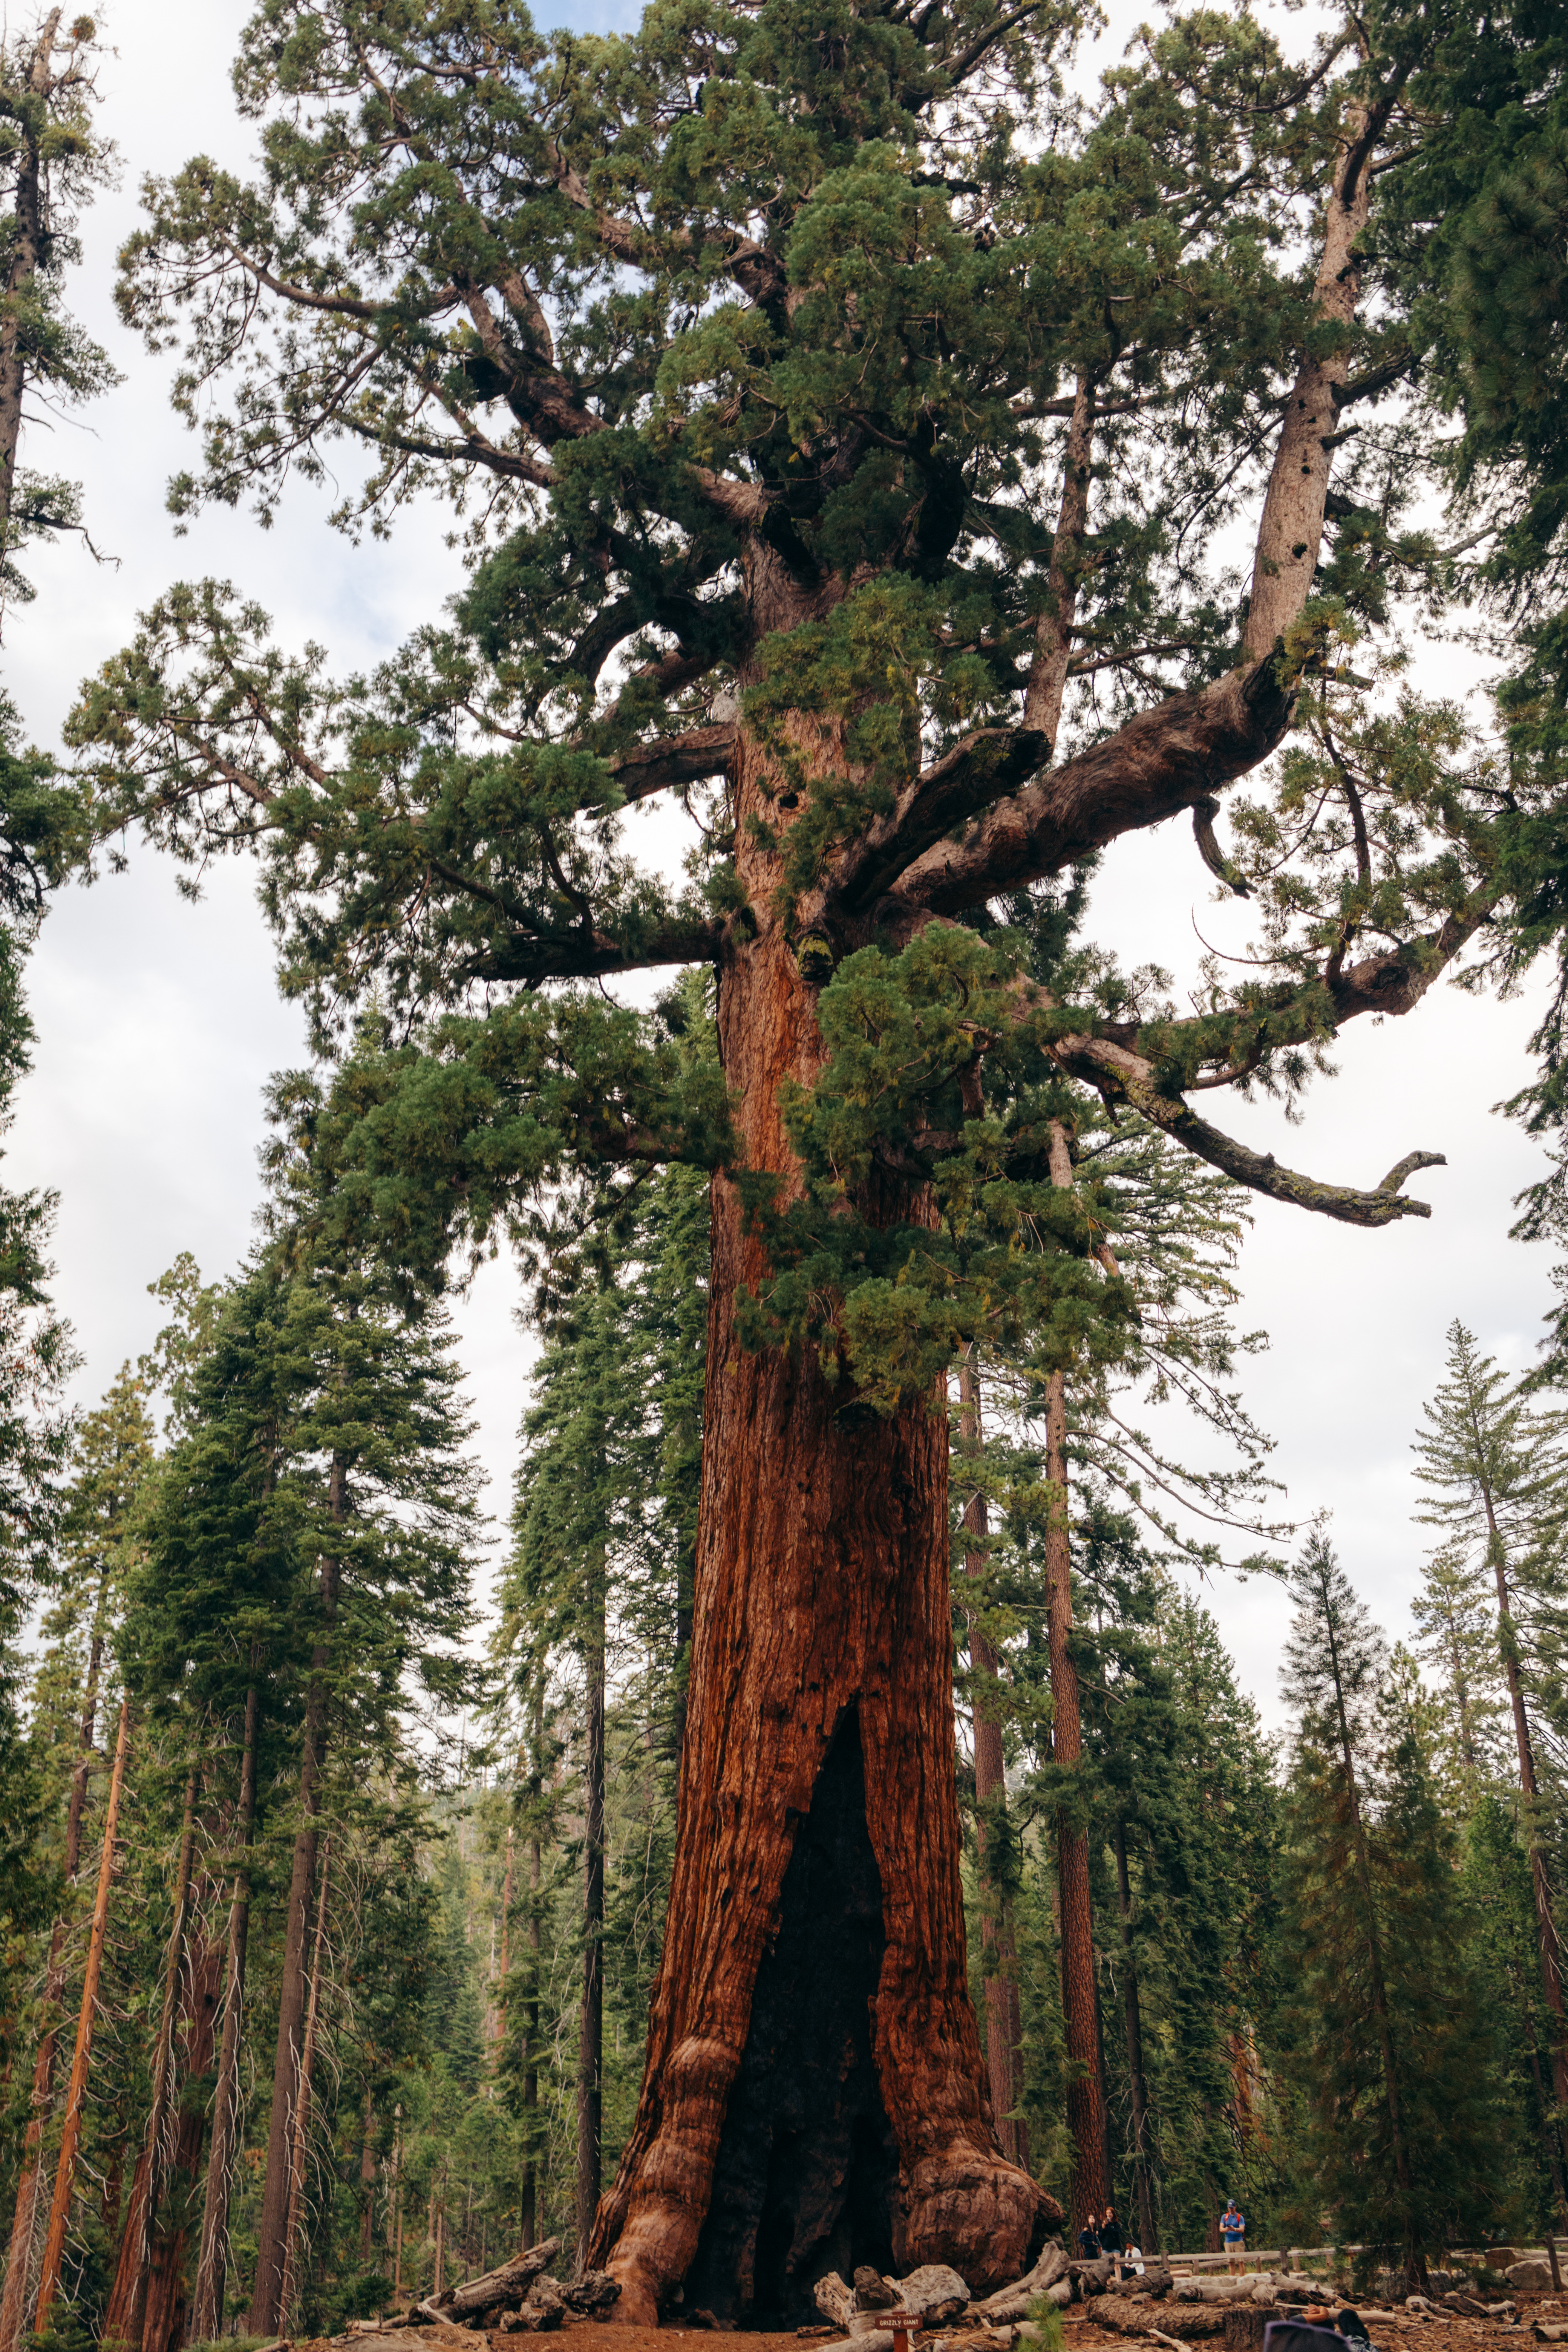
Mariposa Grove’s most famous sequoia tree is the Grizzly Giant and is about a 1 mile hike from the trailhead.
The Grizzly Giant is the oldest sequoia tree in Mariposa Grove and stands at approximately 209 feet – making it the 26th largest giant sequoia. In comparison, General Sherman is the largest sequoia tree in the world located in Sequoia National Park!
What makes the Grizzly Giant unique is the way the branches twist and curl upward around the tree. Some of the branches themselves are wider than several of the smaller trees in Mariposa Grove!
The walkway leading up to the Grizzly Giant is magnificent and gives you the full scope of how gigantic this tree is. Once you arrive, you can take the path around the tree, getting a chance to see the way it leans from every angle.
Big Trees Loop, Grizzly Giant Loop, and Mariposa Grove Trail
This area gives you a few different trail options, some shorter and some much longer.
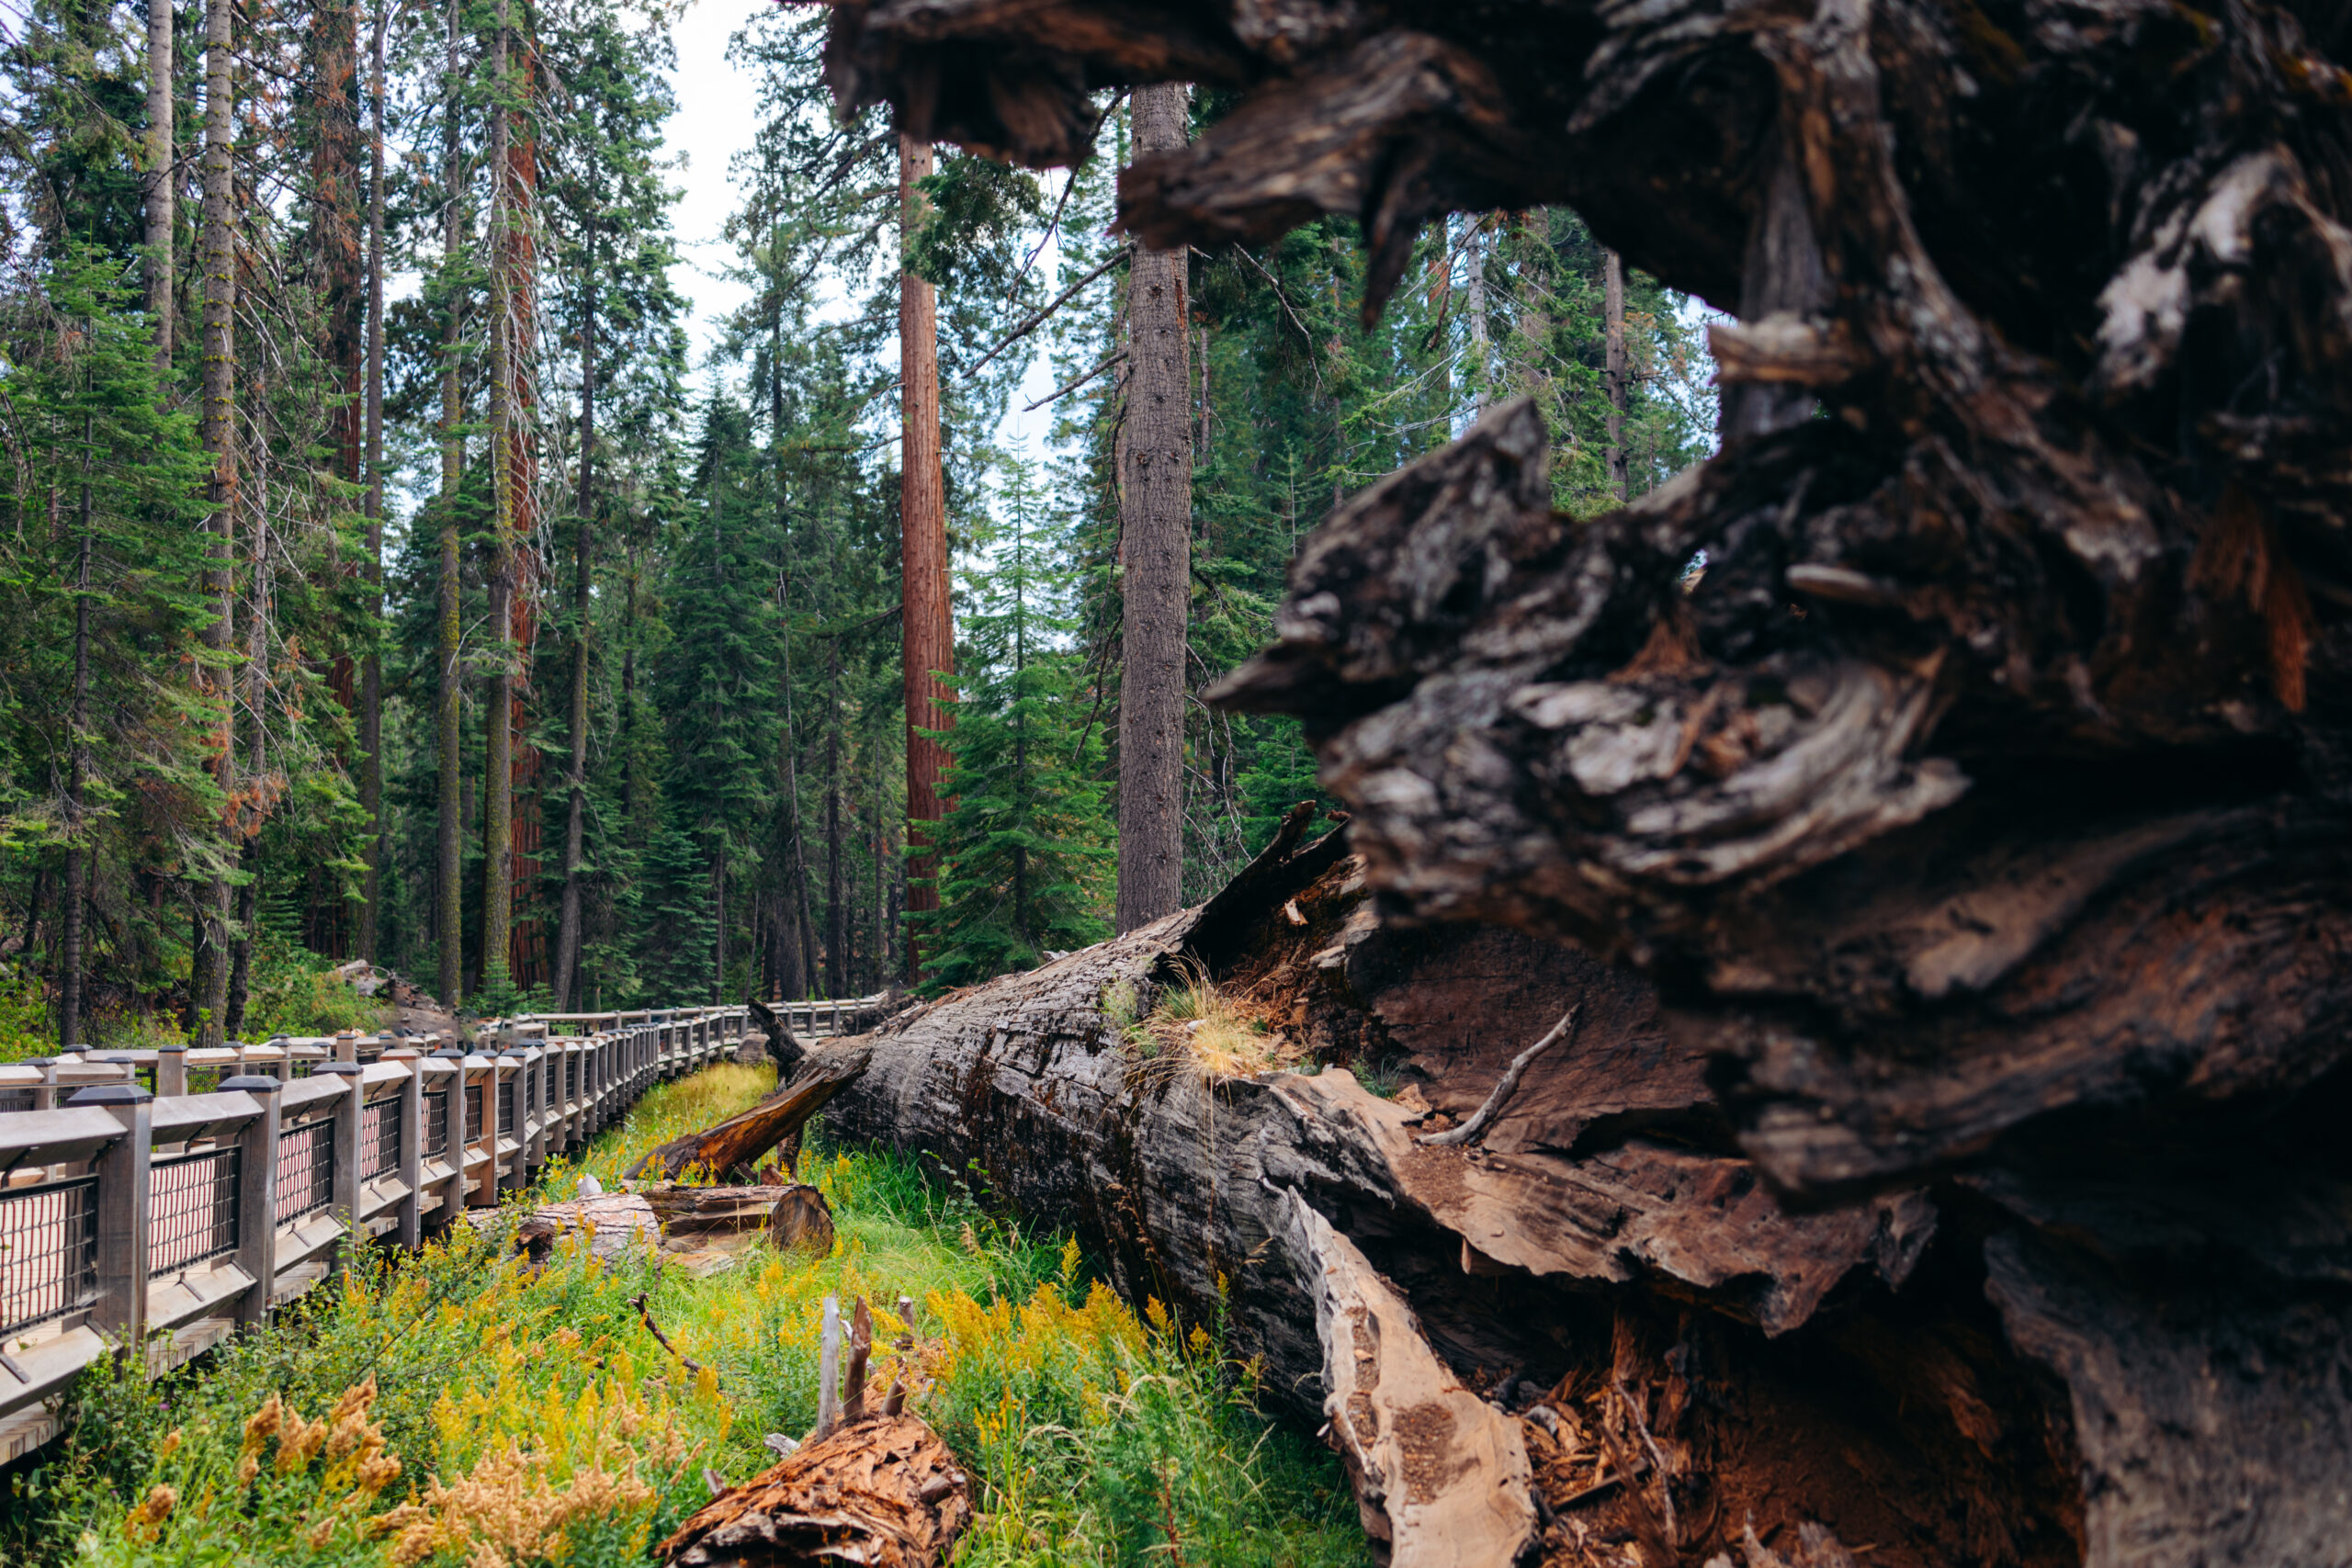
Big Trees Loop: This shorter loop takes you past the Fallen Monarch tree and 0.3 miles round trip. You can meander through this trail in about 30 minutes.
Grizzly Giant Loop: This 2 mile round-trip loop is fairly easy and will take you past the notable Fallen Monarch, Bachelor & Three Graces, the Grizzly Giant, and the California Tunnel tree. This is the most popular loop.

Mariposa Grove Trail: Finally you have the option to hike the 6.7 mile round trip Mariposa Grove Trail up to Wawona Point (or as far as you’d like). The crowds start to thin out after the Grizzly Giant. If you hiked all the way to Wawona Point, you would gain about 1,200 feet of elevation – tough!
You are welcome to do more exploring, but after a few miles of hiking we are always pooped. Save some energy for a long day 2 below!
Day 2: Yosemite Valley Trails
Our biggest tip for exploring the Yosemite Valley (whether you do it on day 1 or 2) is arrive at the park extremely early – before 7:30am if possible.
The valley is (unfortunately) infamous for long wait times, traffic, and battling for parking. BUT, if you arrive before 7:30am, you will avoid most of the congestion.
Park in the Yosemite Village Parking area, if possible. It’s the closest to the Yosemite Valley visitor center and the beginning of the shuttle system.
And the best part? If you get there early, you get more of Yosemite to yourself. Let’s get into it!
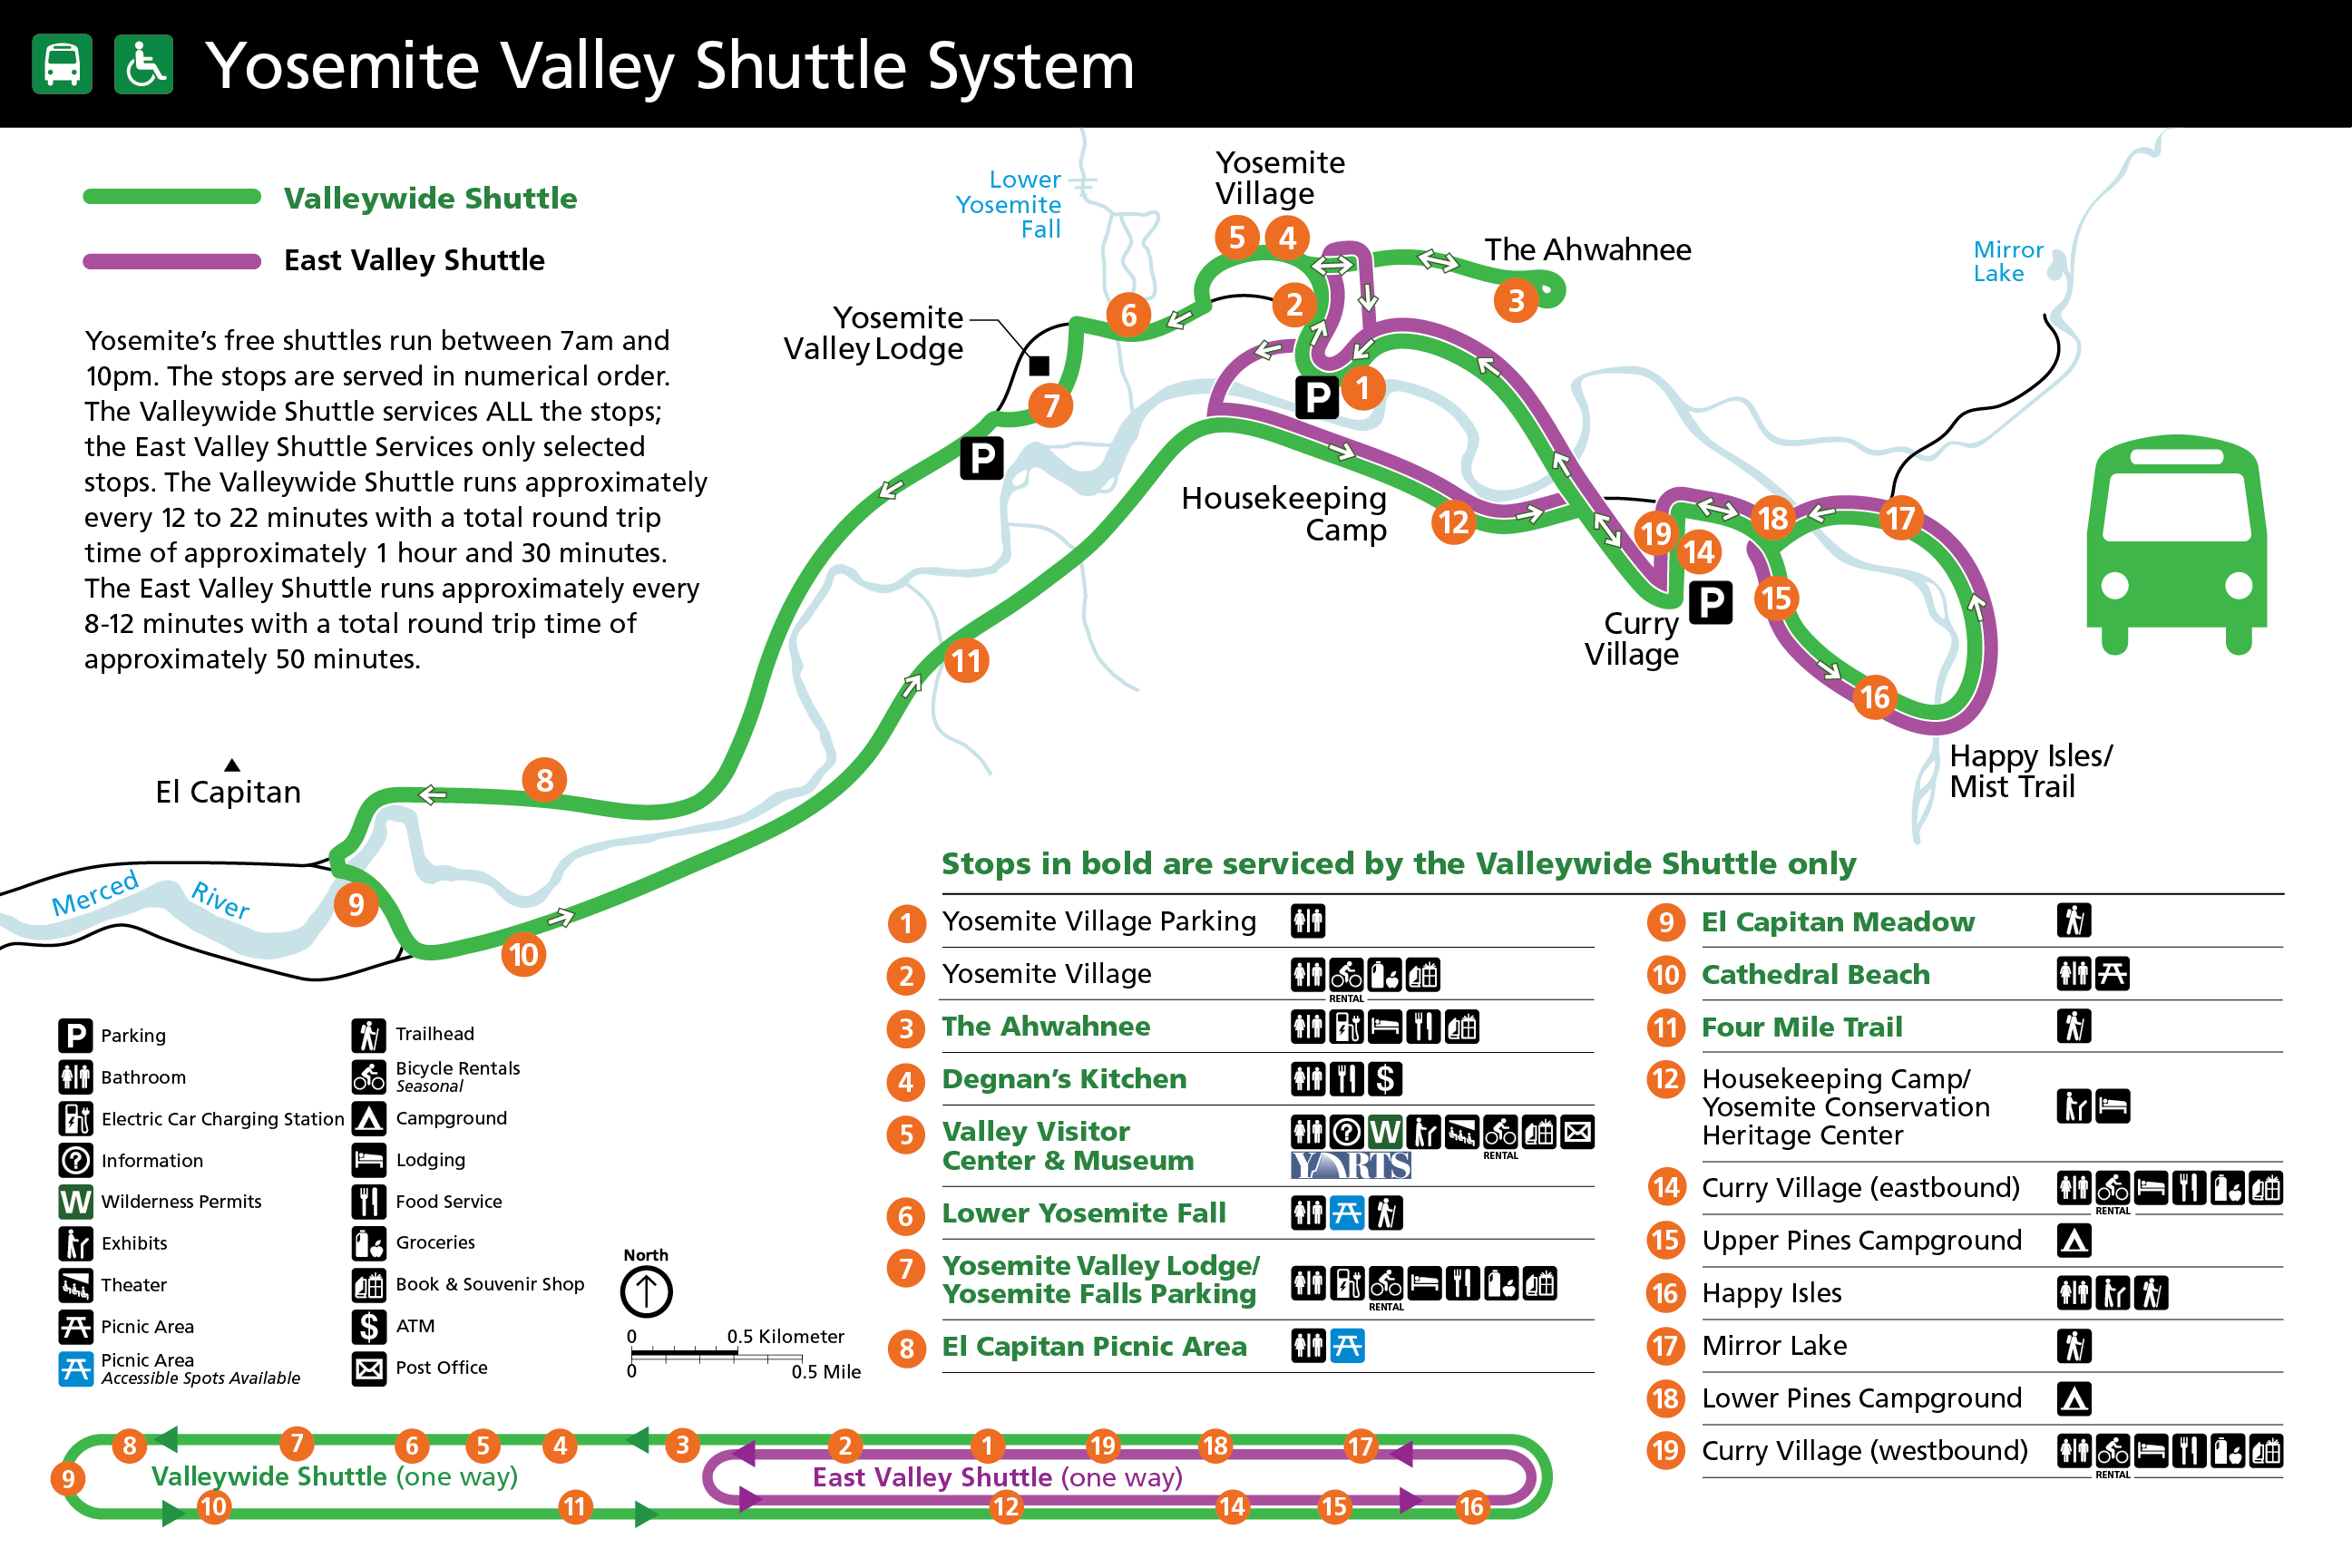
Getting Around Yosemite: Shuttle System
The Yosemite Valley shuttle operates between 7am and 10pm and makes stops in numerical order. This makes it easy to get around Yosemite! (see image below).
Here’s the two most important things to know:
East Valley Shuttle (purple line) to famous hikes like the Mist and Mirror Lake trails
Valley View Shuttle (green line) to El Capitan picnic area and trails.
Our first recommendation is to take the purple line to stop 16 – Happy Isles and the Mist Trail for your first hike of the day.
Vernal and Nevada Falls via the Mist Trail
One of the most famous trails in Yosemite, the entire loop is 6.4 miles, challenging, and should take you between 4-5 hours to complete. You will gain nearly 2,000 feet of elevation, but it is entirely worth it for the incredible views.
A park ranger told us this was the most popular hike in all the park (another reason to get there early).
Take it from us: we did NOT get to this hike early, so we were stuck in some major crowds. The crowds thin out the further along you go on the trail, but you are nearly guaranteed to run into folks on the Mist Trail.
Start your hike off shuttle stop 16 and follow signs for the Mist Trail & John Muir Trail Trailhead.
Mist Trail
The first part of the Mist Trail is a steady incline up alongside the Merced river. It is mostly paved, but it is still a challenge.
Your first stop will be the Vernal Falls Footbridge, where you can snap some photos, refill your water bottle, and use the restroom.
Continue up the Mist Trail and you will know exactly where it got its name!
You will eventually start climbing a very wet set of stairs (due to the waterfall rushing just a few hundred feet from you!) Be extra careful on this part and take it slow as the path starts to narrow.
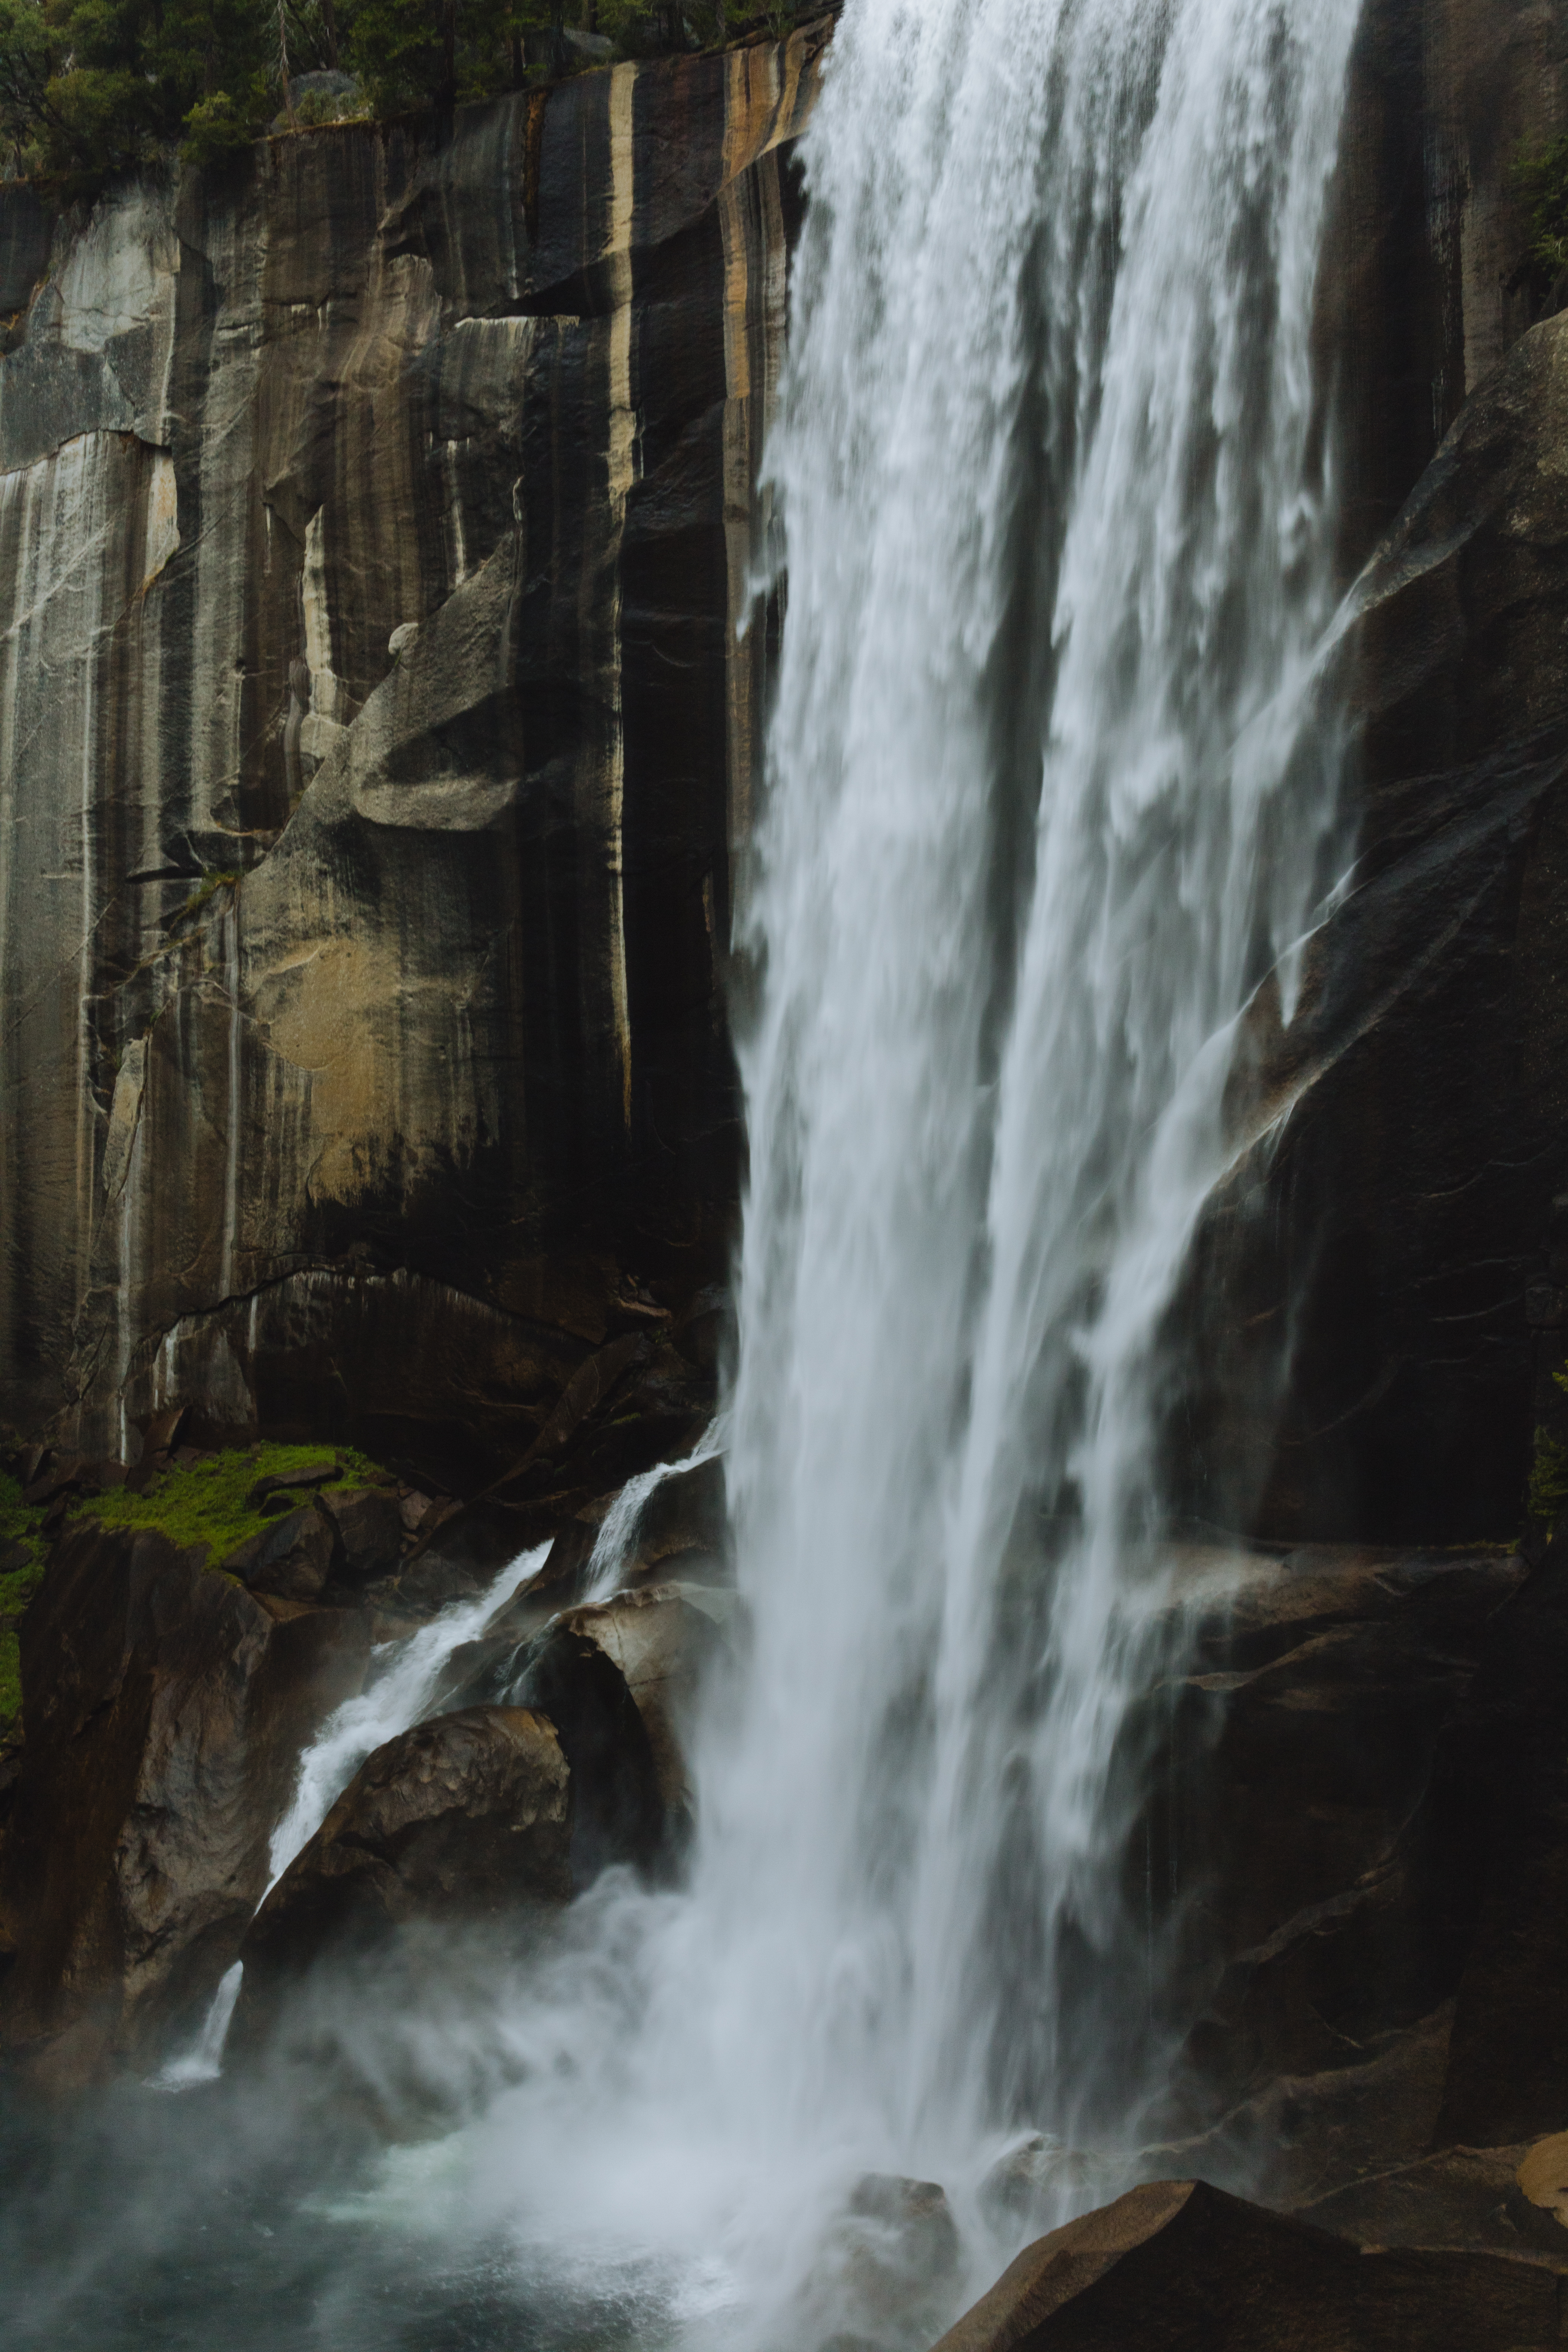
Vernal Fall
You will eventually reach the top of Vernal Falls and be rewarded with a spectacular view of the waterfall and trail leading up.
There is a large, open rock area where you can look over the falls, explore the nearby river, and stop for a snack or lunch. There are plenty of places to sit and take in the surrounding beauty.
If you’re feeling brave, continue toward Nevada Falls. Take the clockwise loop, in the opposite direction of Clark Point (don’t worry you’ll get this on the way down).
You will notice the crowds starting to thin out, as the elevation is continuing to gain!

Nevada Fall
The hike up to Nevada Falls is tough. You will traverse some rocky areas, inclines, and several sets of stairs. Keep following the metal plated signs pointing toward Nevada Falls.
The hardest part of the hike is near the end, where you will climb several rocky stair switchbacks. You are very much near the end!
The top of Nevada Fall is absolutely stunning. You will have fantastic views of the granite rocks, see several domes, and be rewarded with the peaceful rush of the waterfall.
There are lots of areas to snap photos, sit around, and even snooze if you’d like.

John Muir Trail to Clark Point
As you begin your descent, keep following the trail clockwise and look for signs toward the John Muir Trail. The first part of the trail down is forested and is a relief from the inclines on the way up.
Stop at Clark Point, which gives you expansive and wide views of Nevada Fall and the surrounding granite domes.
There are several rocky switchbacks on the way back down to the Mist Trailhead and footbridge. This was probably the most painful part as our legs were extremely tired and the momentum of the decline hurt our toes. Take it slow!
By the time we finished this nearly 6.5 mile loop, we were absolutely gassed. Find a spot to take a snooze and refuel your body!

Note: for the most up-to-date status of the trail, check the Yosemite NPS website.
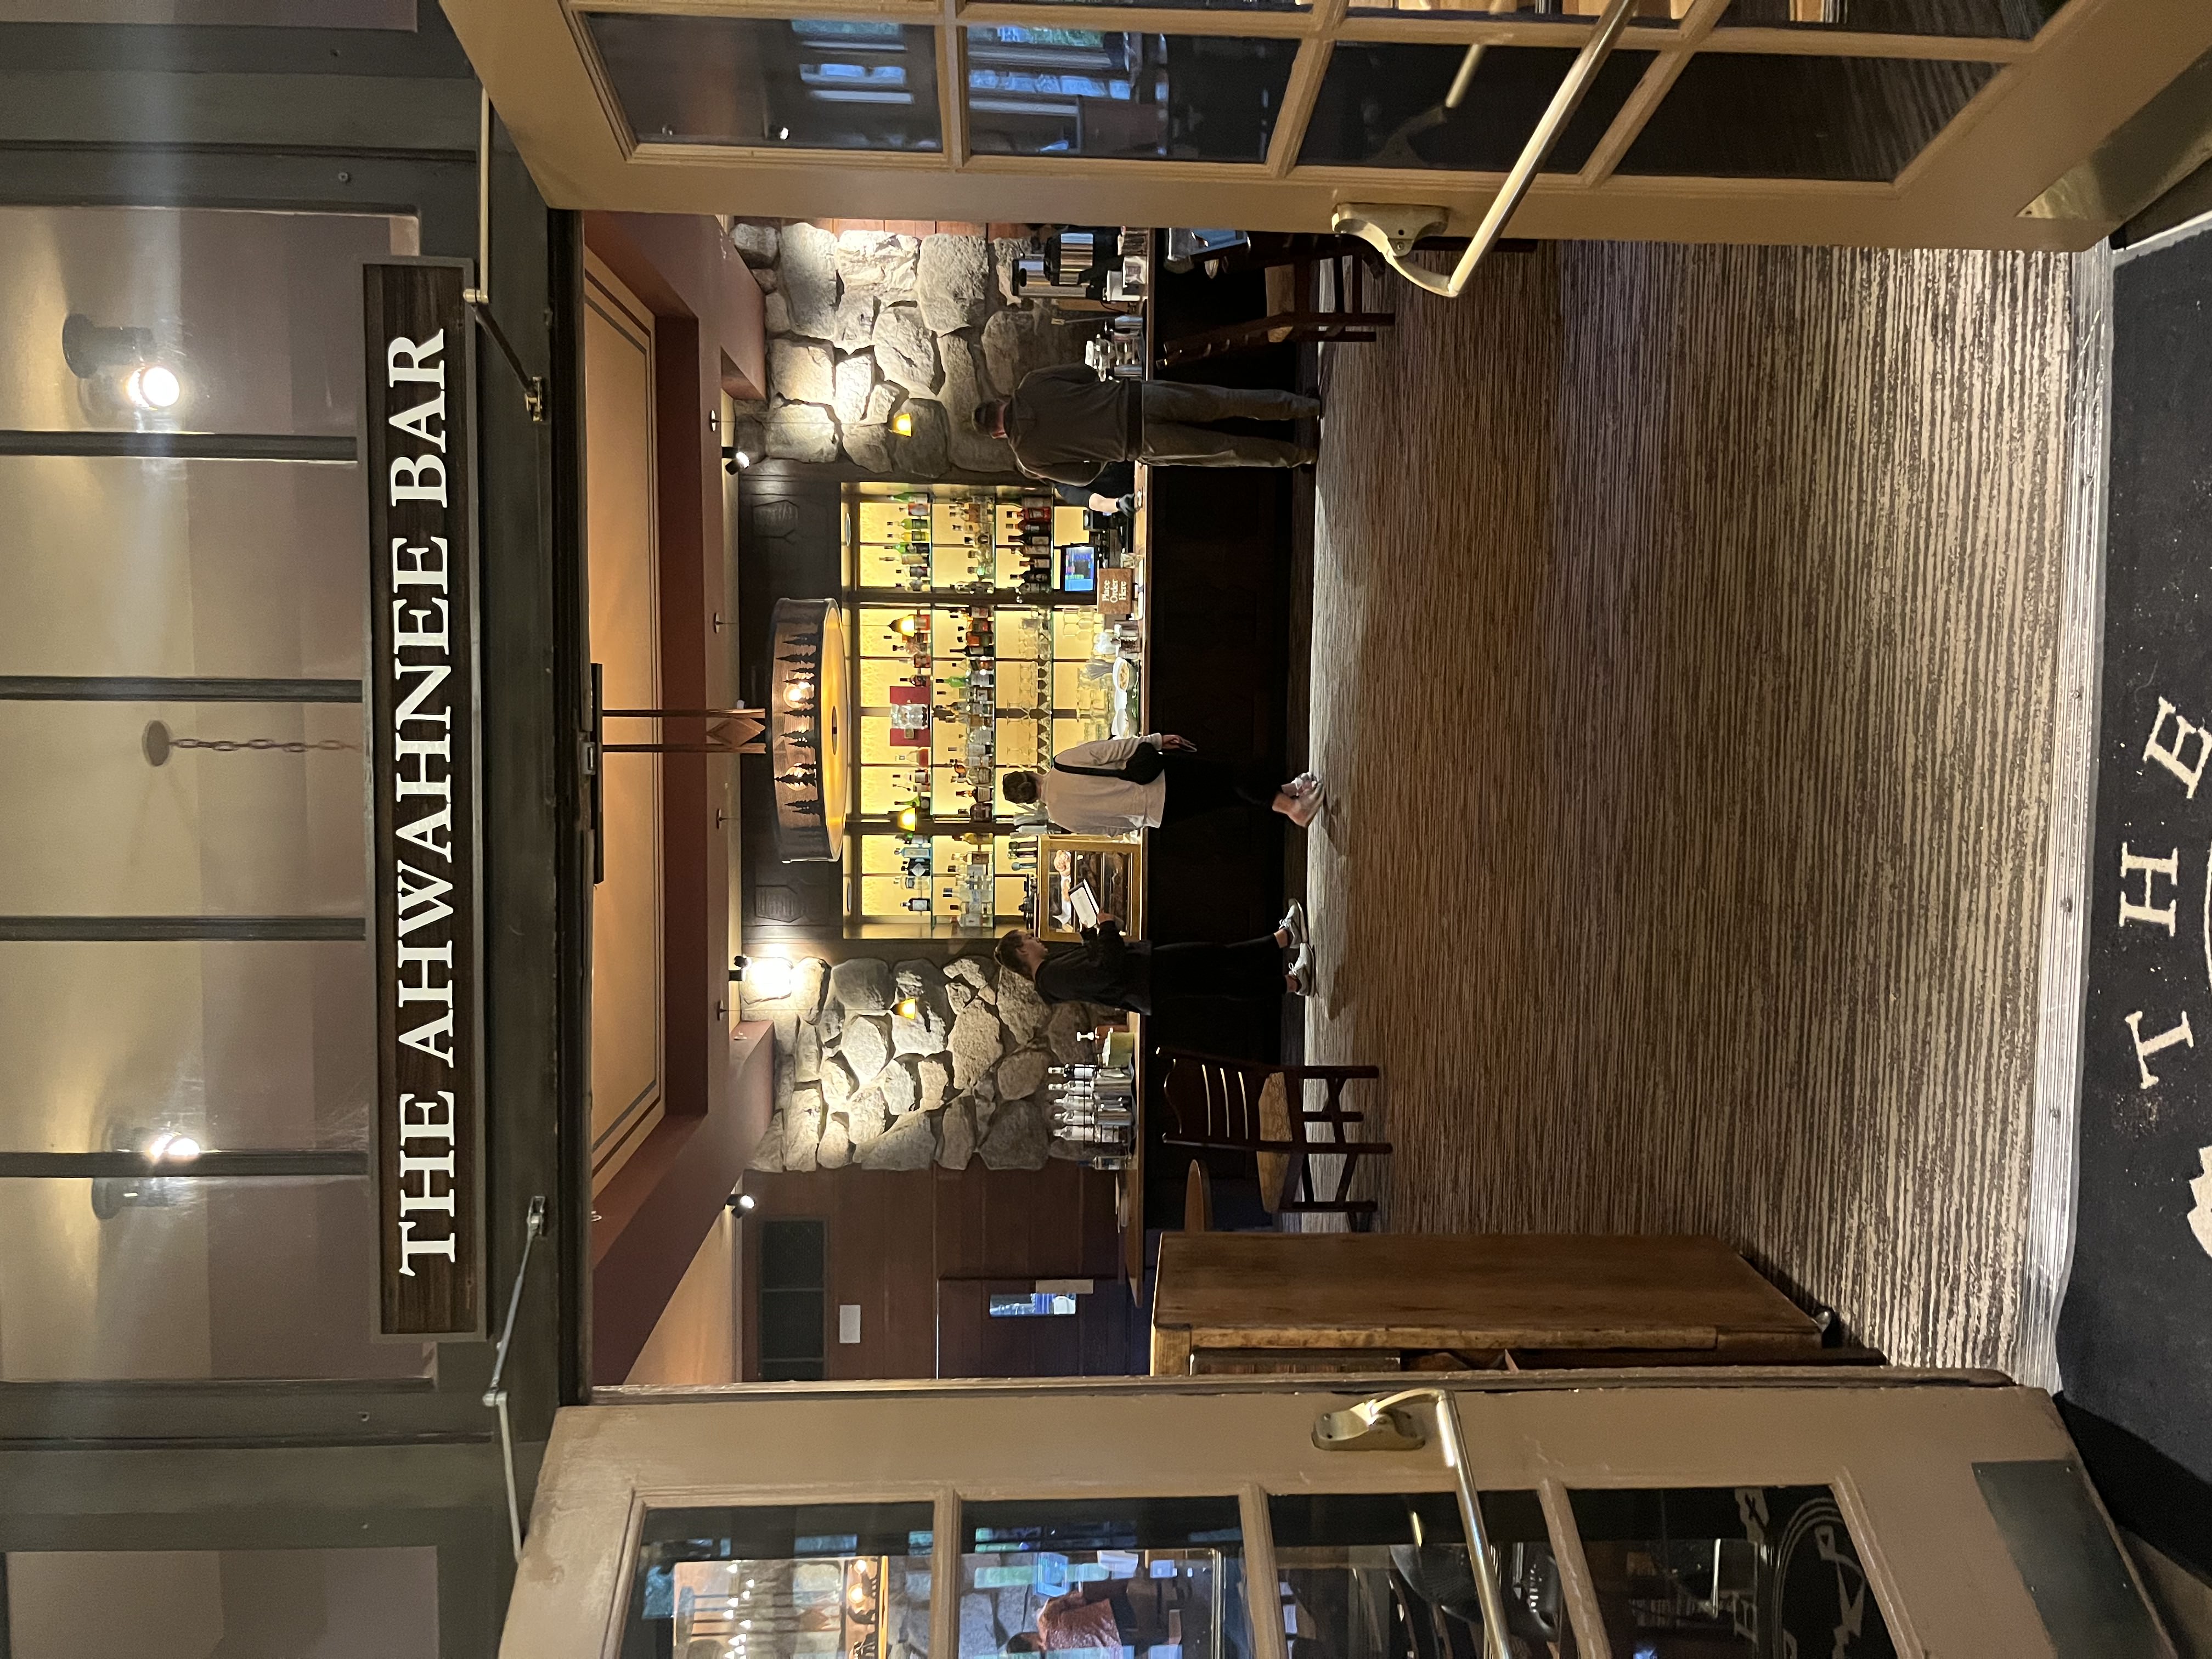
Visit The Ahwahnee
One of our unexpectedly favorite stops at Yosemite was The Ahwahnee hotel for a coffee, snack, and snooze.
The Ahwahnee is a lodge inside of the park that was built in the 1920s. The hotel was constructed by transporting over 5,000 tons of stone, 1,000 tons of steel, and 30,000 feet of lumber through the mountains – you can feel the elegance.
Take a stroll around the interior of the building and you’ll be pleasantly surprised by the views, luxury, and spaciousness of the place.
We stopped for coffee here and enjoyed chatting with the barista.
You can get to the Ahwahnee off shuttle stop 3 on the green line.
Valley Loop Trail & Mirror Lake
If you are looking for another hike, we definitely recommend a short portion of the Valley Loop Trail to Mirror Lake.
From the Ahwahnee, walk north across the street toward a path behind the building. This trail is part of the 20 mile Valley Loop trail, which is a longer hike you can take through the Yosemite Valley.
The trail was relatively quiet and peaceful. You will pass massive boulders and meander through the forest, all with Half Dome looming over you.
(insert picture from Valley loop trail)
Walk part of this trail all the way to the Mirror Lake intersection. From here, you will cut back south and head toward Mirror Lake.
Mirror Lake gives you a lovely view of the valley with towering domes and mountains reflecting perfectly off the lake (if you go during the early part of spring). You can then make your way down the Mirror Lake path to shuttle stop 17, which can take you back to the center of the park.
The entire loop from The Ahwahnee back to stop 17 is just over 2 miles and should take you between 1-2 hours to complete.
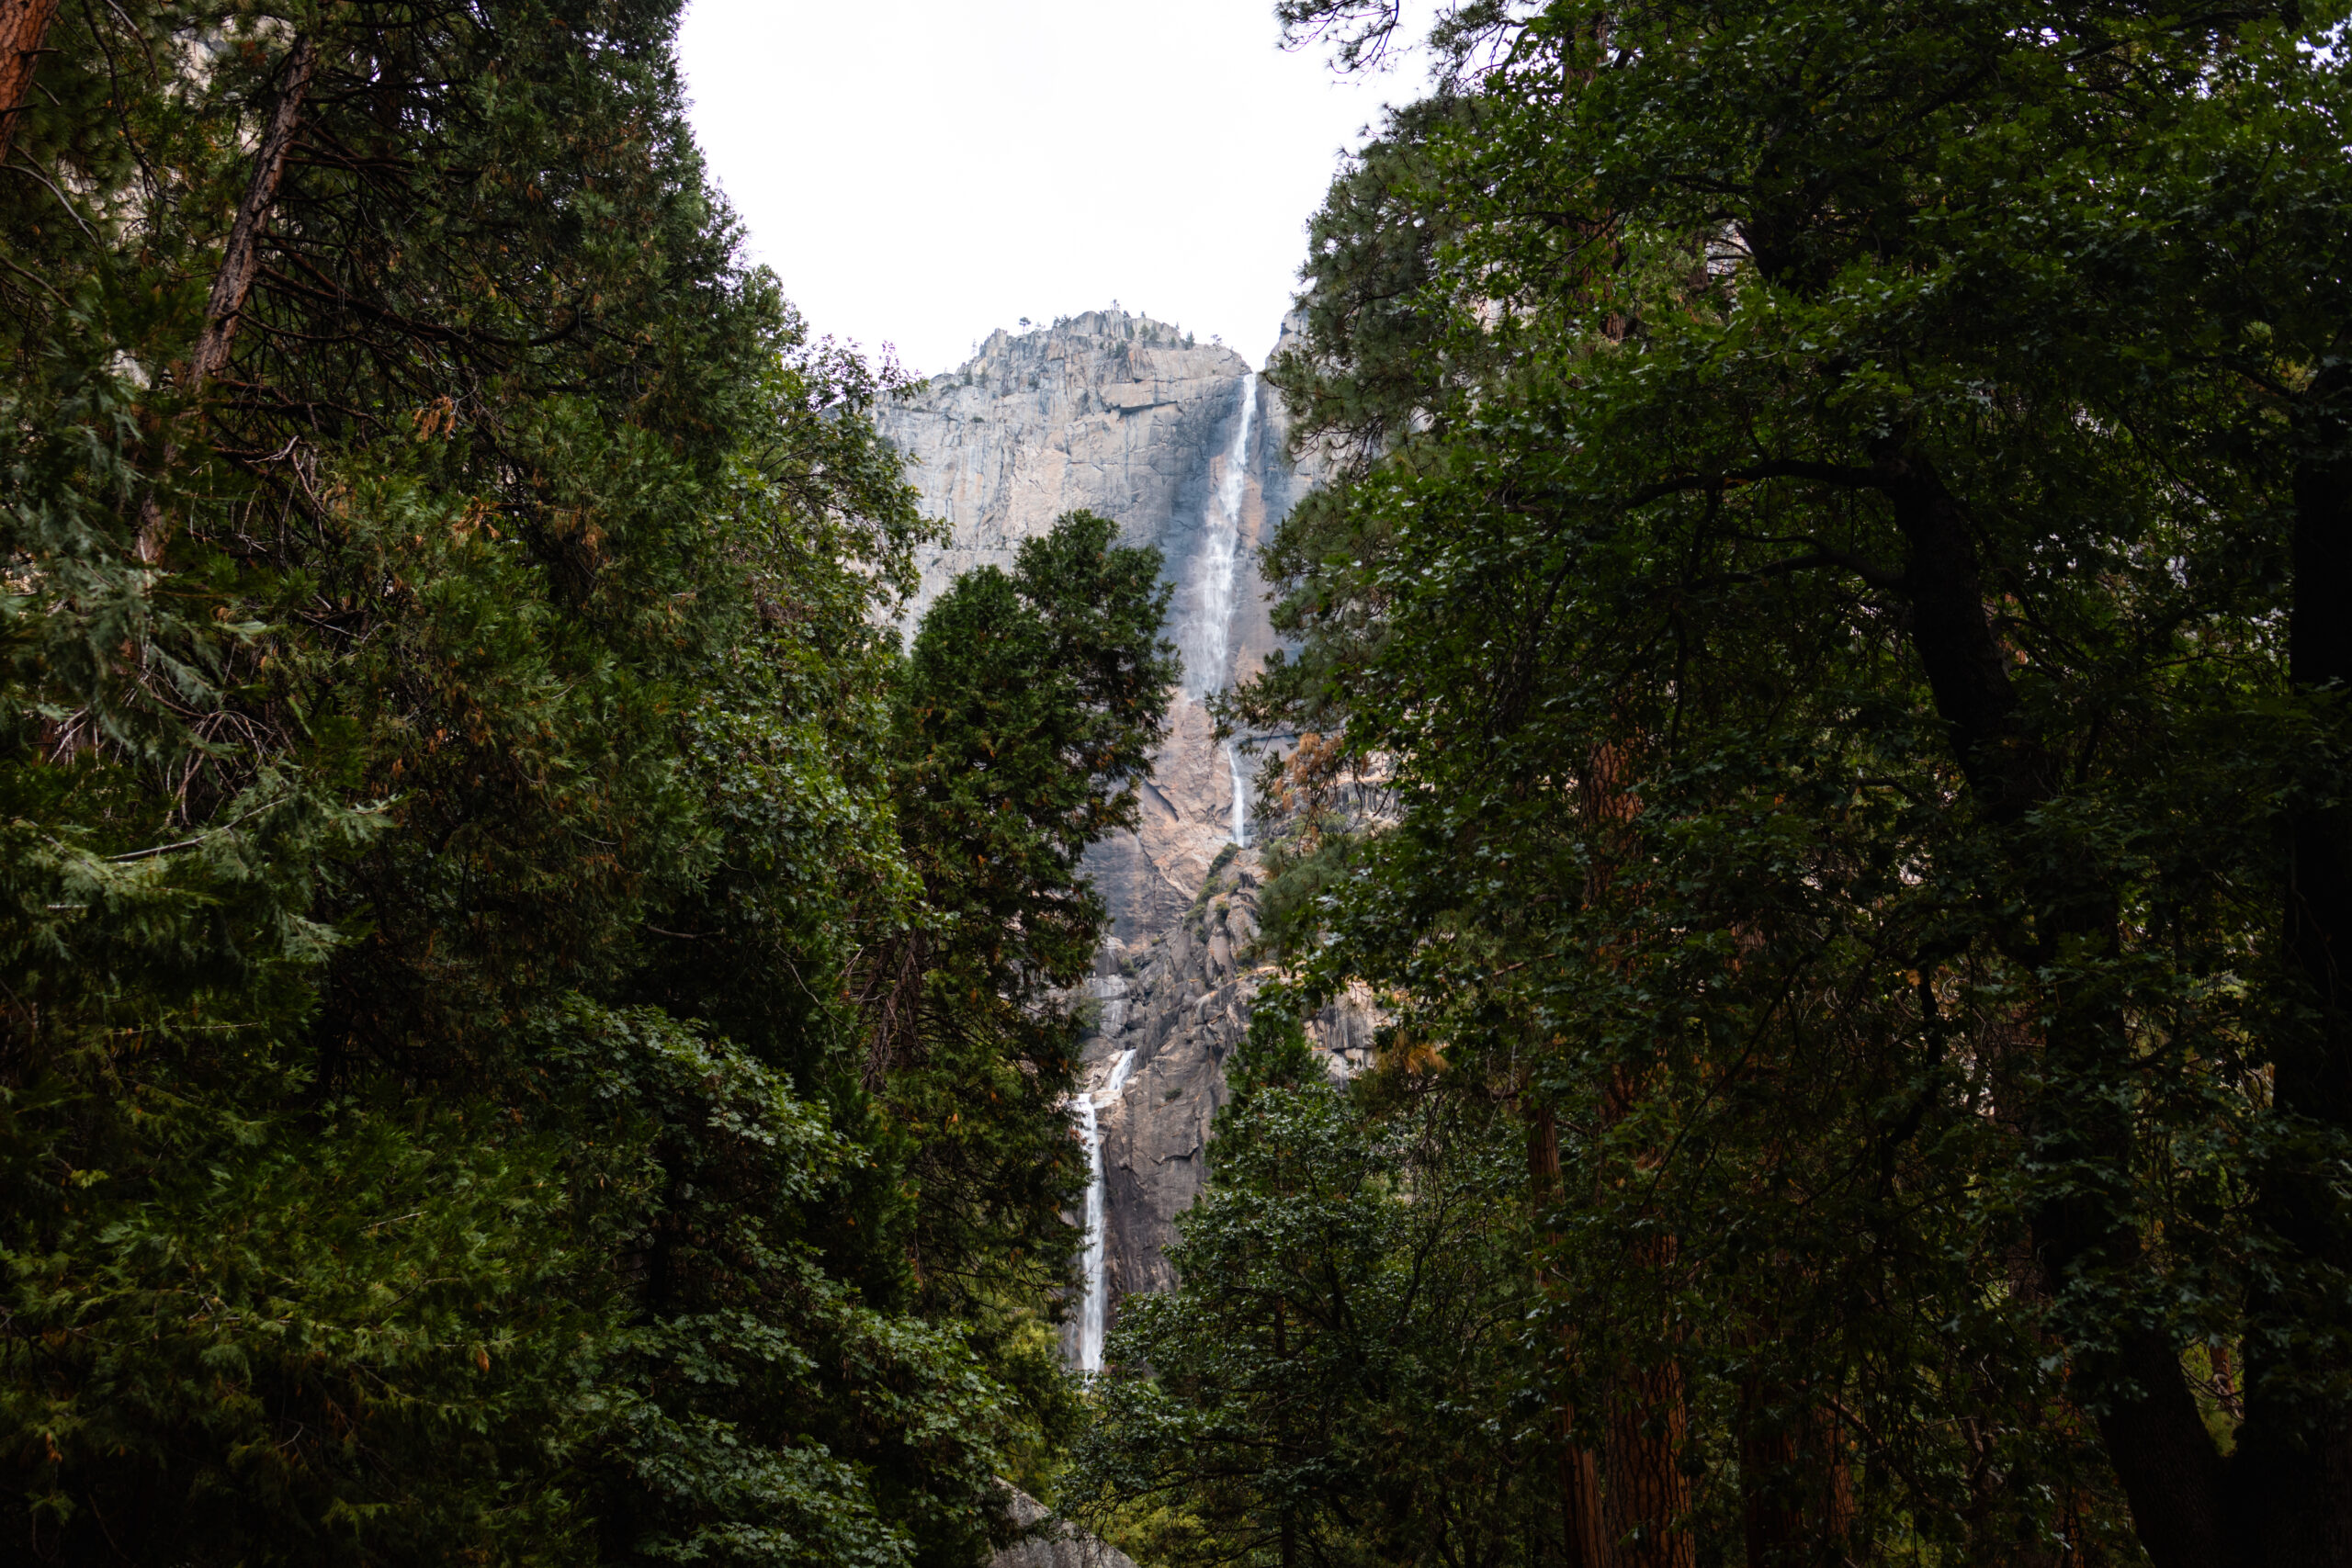
Lower Yosemite Falls Trail
Our last hike recommendation on this Yosemite 2 Day Itinerary is lower Yosemite Falls. This short and easy 1 mile loop will give you a perfectly framed view of Yosemite Falls.
Take the loop clockwise from shuttle stop 6 in order to get a head-on view of the falls. Most people walk counter clockwise, the iconic view stays mostly behind them.
This is a very popular and easy loop in the park. You are likely to run into more crowds depending on the time of day, but you just have to get a glimpse of Lower Yosemite Falls.
Dinner in Curry Village
You have to get dinner at least one night in Yosemite Valley! There are lots of places to grab a snack or bite, but we recommend heading to Curry Village for dinner!
Here you will have lots of options including Bar 1899, Taqueria at Meadow Grill, Seven Tents Pavilion, Pizza Deck, and Jennie’s Ice Cream.
It was fairly packed when we went for dinner, but we got our food in no time. Since we were exhausted from a day of hiking, anything sounded better than our plain sandwiches and snacks!
Despite it not feeling rugged or tough, it was nice to have a warm prepared meal at the end of a long few days of hiking and experiencing the Yosemite wilderness.
Honorable Mentions
It is highly likely that two days in Yosemite is not enough to see the very best of the park.
Here are a few additional highlights of Yosemite:
Bridalveil Falls
The Bridalveil Falls trailhead is located on the western end of the valley on Southside drive. This is a very short 0.5 mile hike that will take you approximately 30 minutes to complete. Bridalveil is often the first waterfall you see when entering Yosemite and is most active in early spring.
Tioga Road
This is one we wish we would have made time for. Tioga Road is typically open from late May or June until in November.
This area of the park is much less visited, but would be the perfect additional to any Yosemite National Park itinerary.
Tioga is the highest pass in the Sierra Mountains Range near Yosemite. It sits at 9,943 feet! One of the most popular areas to explore is the Tuolumne Meadows. This area is a vast, open subalpine field, beautified by the winding Tuolumne River and ringed by stunning mountains and domes.
Whenever I look at pictures of this area, I wish we would have gone while we were inside the park.
Upper Yosemite Falls
This trail is a challenging 7.2 mile round trip hike to the top of the falls. This is one of Yosemite’s oldest trails and takes between 6-8 hours to complete. You will gain about 2,700 feet of elevation, which makes this a very strenuous hike.
You will be rewarded with beautiful views of Half Dome and El Capitan, as well as the entire valley.
We’d really have to commit to this strenuous hike, but it’s on our list for the next time we pay a visit to Yosemite.

Final Thoughts: Yosemite 2 Day Itinerary
Planning a trip to Yosemite National Park was a long time coming.
And seeing Yosemite in 2 days felt like we got a good sense of the park, but it absolutely left us wanting to come back!
Whenever we go back (which hopefully ends up being sooner than expected), we will use this exact two day itinerary to plan another perfect Yosemite road trip.
This is a crown jewel of the park system and we hope you plan a time to visit Yosemite National Park soon!